Hello. I'm Masaru Hirose.
I introduced the Masamune framework, which enables stable and fast development of applications in Flutter.
I would like to write several introductory articles to let you know its charm and how to use it.
By mastering the Masamune framework, you will be able to develop ultra-fast, stable, and high-quality applications.
I have started to create a "Notepad application" in the previous issue, which allows users to list and detail memos, add, edit, and delete memos.

I would like to add "Text search" and "Image upload" functions to this application to make it easier to use.
Text search
The Masamune framework uses NoSQL to build Firestore and local DBs.
Firestore, for example, is not very good at text searches and recommends using Algolia or other search engines in conjunction.
The Masamune framework provides the ability to perform simple text searches without using Algolia or other search engines.
First, we would like to make the data searchable.
Open the project from the last time and execute the following command in a separate terminal to monitor the code changes.
katana code watch
Open MemoModel and annotate the parameters you want to search with @searchParam.
// memo.dart

const factory MemoModel({
  // TODO: Set the data schema.
  @searchParam required String title,
  @searchParam required String text,
  @Default(ModelTimestamp()) ModelTimestamp createdAt,
}) = _MemoModel;
const MemoModel._();
This alone makes the title and text eligible for text search.
Now let's continue by creating a search form.
Open MemoListPage and rewrite it as follows.
// memo_list.dart

@override
Widget build(BuildContext context, PageRef ref) {
  // Describes the process of loading
  // and defining variables required for the page.
  // TODO: Implement the variable loading process.
  final memoList = ref.model(MemoModel.collection())..load();
  final searchToggle = ref.page.watch((_) => ValueNotifier(false));

  // Describes the structure of the page.
  // TODO: Implement the view.
  return UniversalScaffold(
    appBar: UniversalAppBar(
      title: searchToggle.value
          ? FormTextField(
              autofocus: true,
              hintText: "Search",
              onChanged: (value) {
                if (value == null) {
                  return;
                }
                memoList.search(value);
              },
            )
          : Text("Memo List"),
      actions: [
        IconButton(
          color: searchToggle.value ? theme.color.primary : null,
          icon: const Icon(Icons.search),
          onPressed: () {
            searchToggle.value = !searchToggle.value;
          },
        ),
      ],
    ),
    body: UniversalListView(
      children: memoList.mapListenable((e) {
        return ListTile(
          title: Text(e.value?.title ?? ""),
          subtitle: Text(e.value?.createdAt.value.yyyyMMddHHmm() ?? ""),
          onTap: () {
            router.push(MemoDetailPage.query(memoId: e.uid));
          },
        );
      }),
    ),
    floatingActionButton: FloatingActionButton(
      onPressed: () {
        router.push(MemoEditAddPage.query());
      },
      child: const Icon(Icons.add),
    ),
  );
}
The search button appears in the upper right corner of the UI, and a search box appears when the user taps the button.
You can use ref.page.watch as follows to manage the status of ValueNotifier and ChangeNotifier only within that page, and the screen will be updated when there is a change.
final searchToggle = ref.page.watch((_) => ValueNotifier(false));
By passing the string you want to search for to the search method of memoList, the elements in the memoList will be filtered and the screen will be updated.
memoList.search(value);
This completes the implementation. Let's debug it.
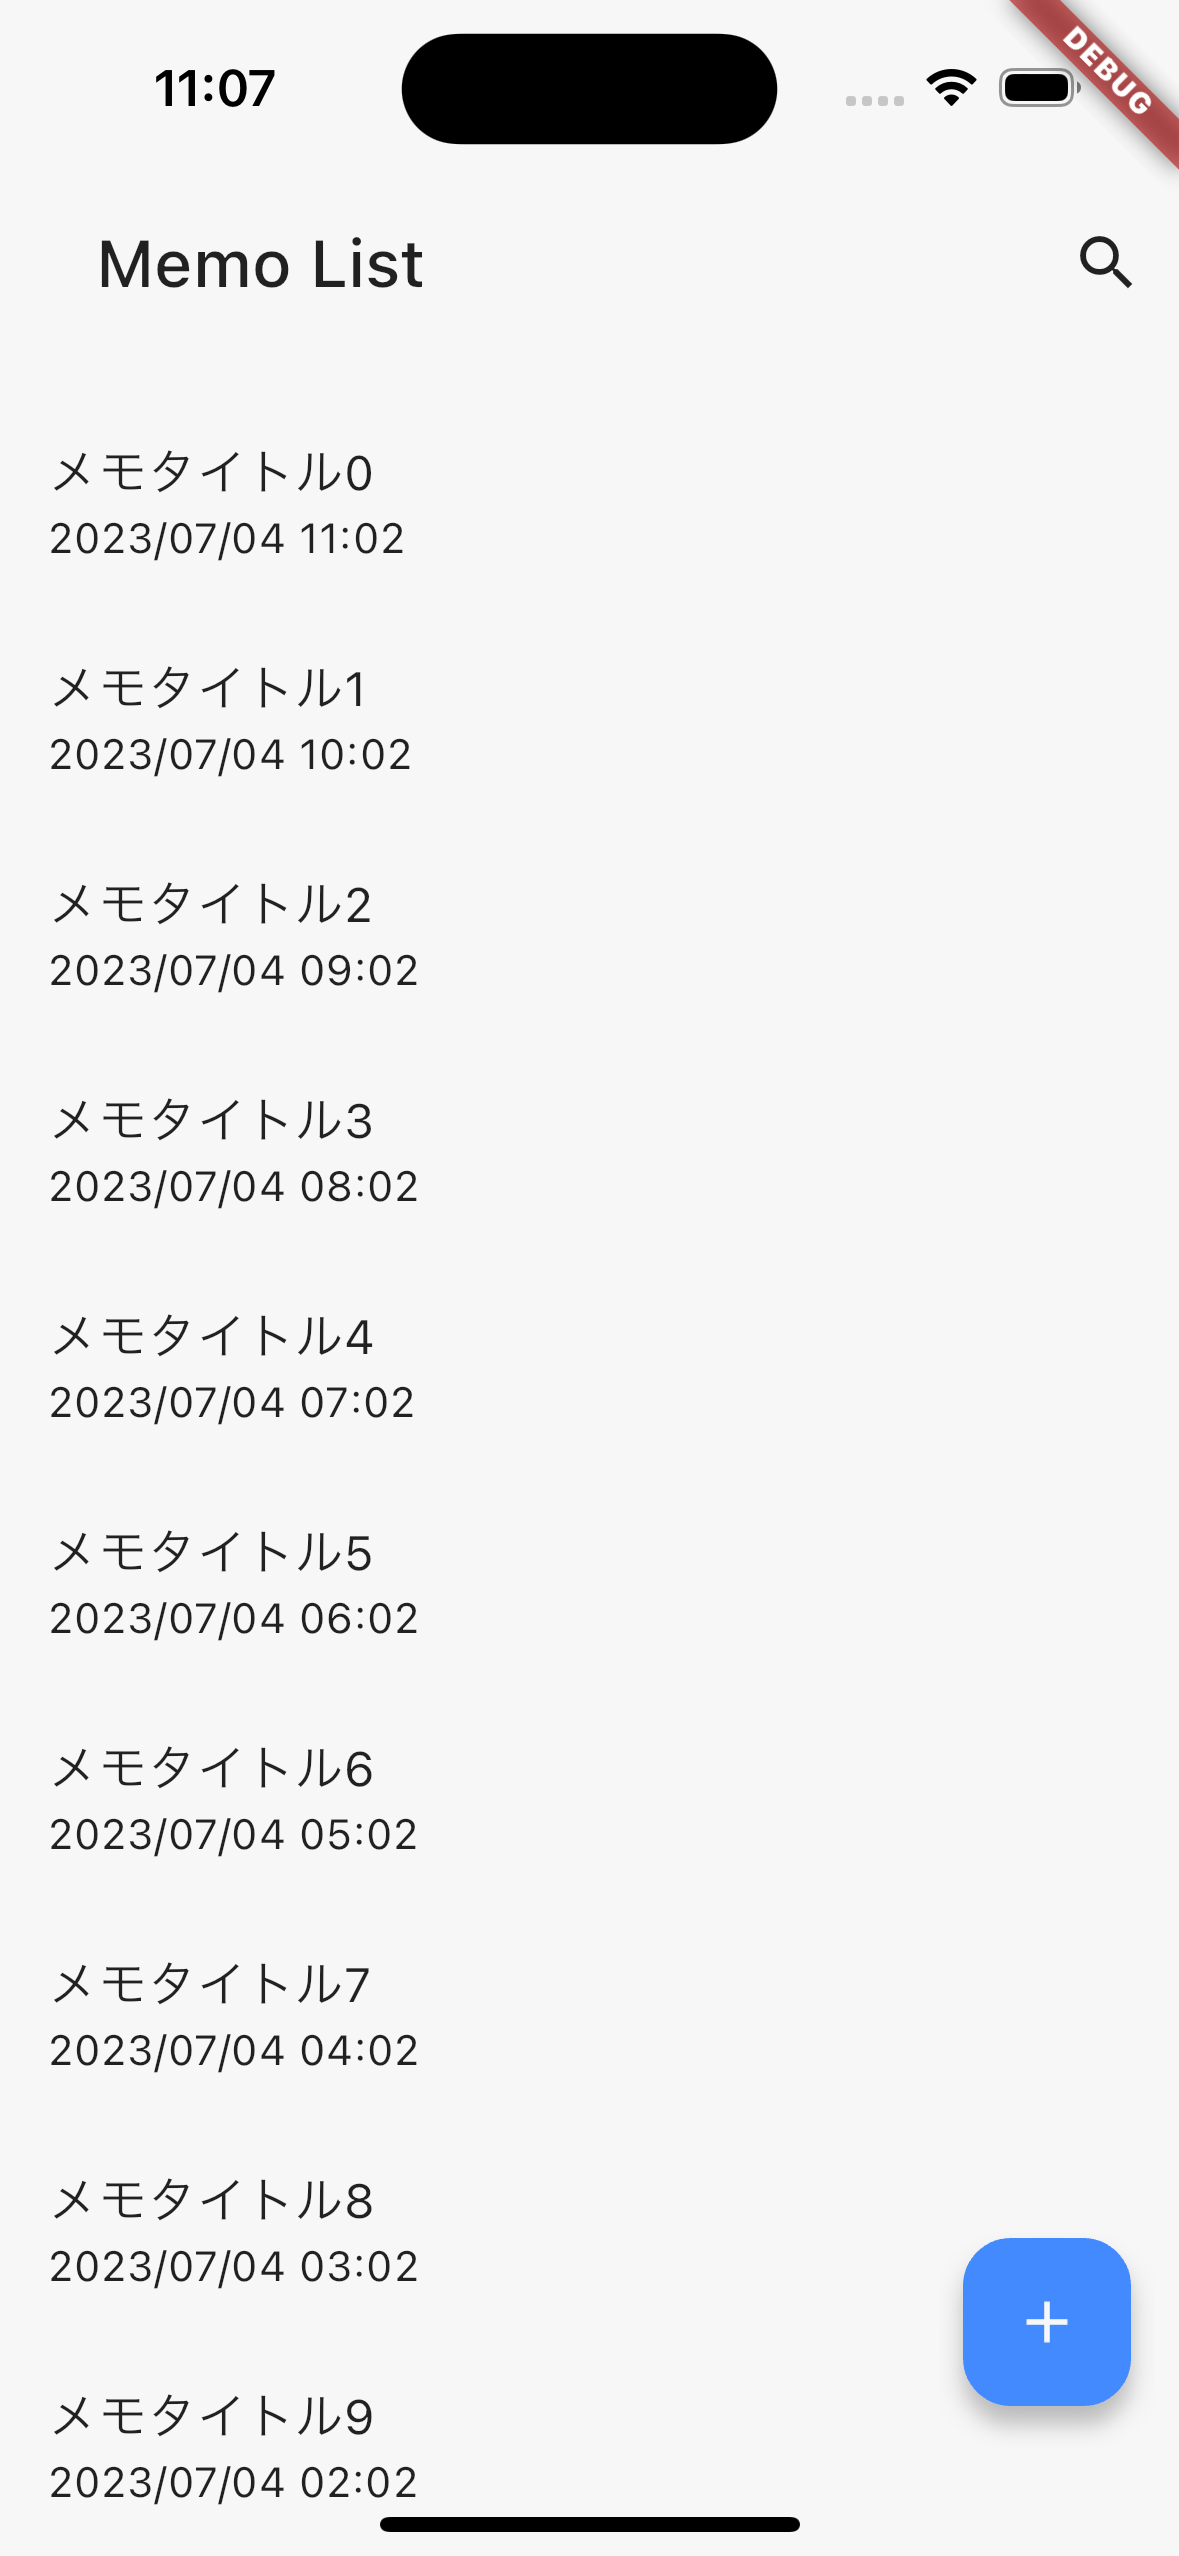
A text field appears when you press the search button.

Enter text and the element will be displayed accordingly.

Upload Image
Now let's implement image uploading.
If you are trying to upload images on mobile, you must have permission to access the image library.
The Masamune framework can be set up collectively to include follow-up to them.
First, open katana.yaml.
Please set enable to true in the app -> picker field, key in your language code (en, ja, etc.) in the permission field, and describe for what purpose you will use the image library.
# katana.yaml

app:

~~~~~~~~

	# Describe the settings for using the file picker.
  # Specify the permission message to use the library in IOS in [permission].
  # Please include `en`, `ja`, etc. and write the message in that language there.
  # ファイルピッカーを利用するための設定を記述します。
  # [permission]にIOSでライブラリを利用するための権限許可メッセージを指定します。
  # `en`や`ja`などを記載しそこにその言語でのメッセージを記述してください。
  picker:
    enable: true
    permission:
      ja: メモ画像用にライブラリを利用します。
After the description, run the katana apply command.
katana apply
The above command will also set the NSPhotLibraryUsageDescription and other settings that are required in IOS.
Next, open main.dart.
Define a Picker object and add a PickerMasamuneAdapter to the MasamuneAdapter.
// main.dart
import 'package:masamune_picker/masamune_picker.dart';

~~~~~~~

/// Masamune adapter.
///
/// The Masamune framework plugin functions can be defined together.
// TODO: Add the adapters.
final masamuneAdapters = <MasamuneAdapter>[
  const UniversalMasamuneAdapter(),
  const PickerMasamuneAdapter(),
];

~~~~~~~

/// App picker.
final appPicker = Picker();
This completes the preparation.
Then add the image data scheme to the MemoModel.
// memo.dart

const factory MemoModel({
  // TODO: Set the data schema.
  @searchParam required String title,
  @searchParam required String text,
  ModelImageUri? image,
  @Default(ModelTimestamp()) ModelTimestamp createdAt,
}) = _MemoModel;
ModelImageUri is a special class for storing URIs for images.
String can be substituted, but ModelImageUri is better for handling as an image, so it should be adopted positively.
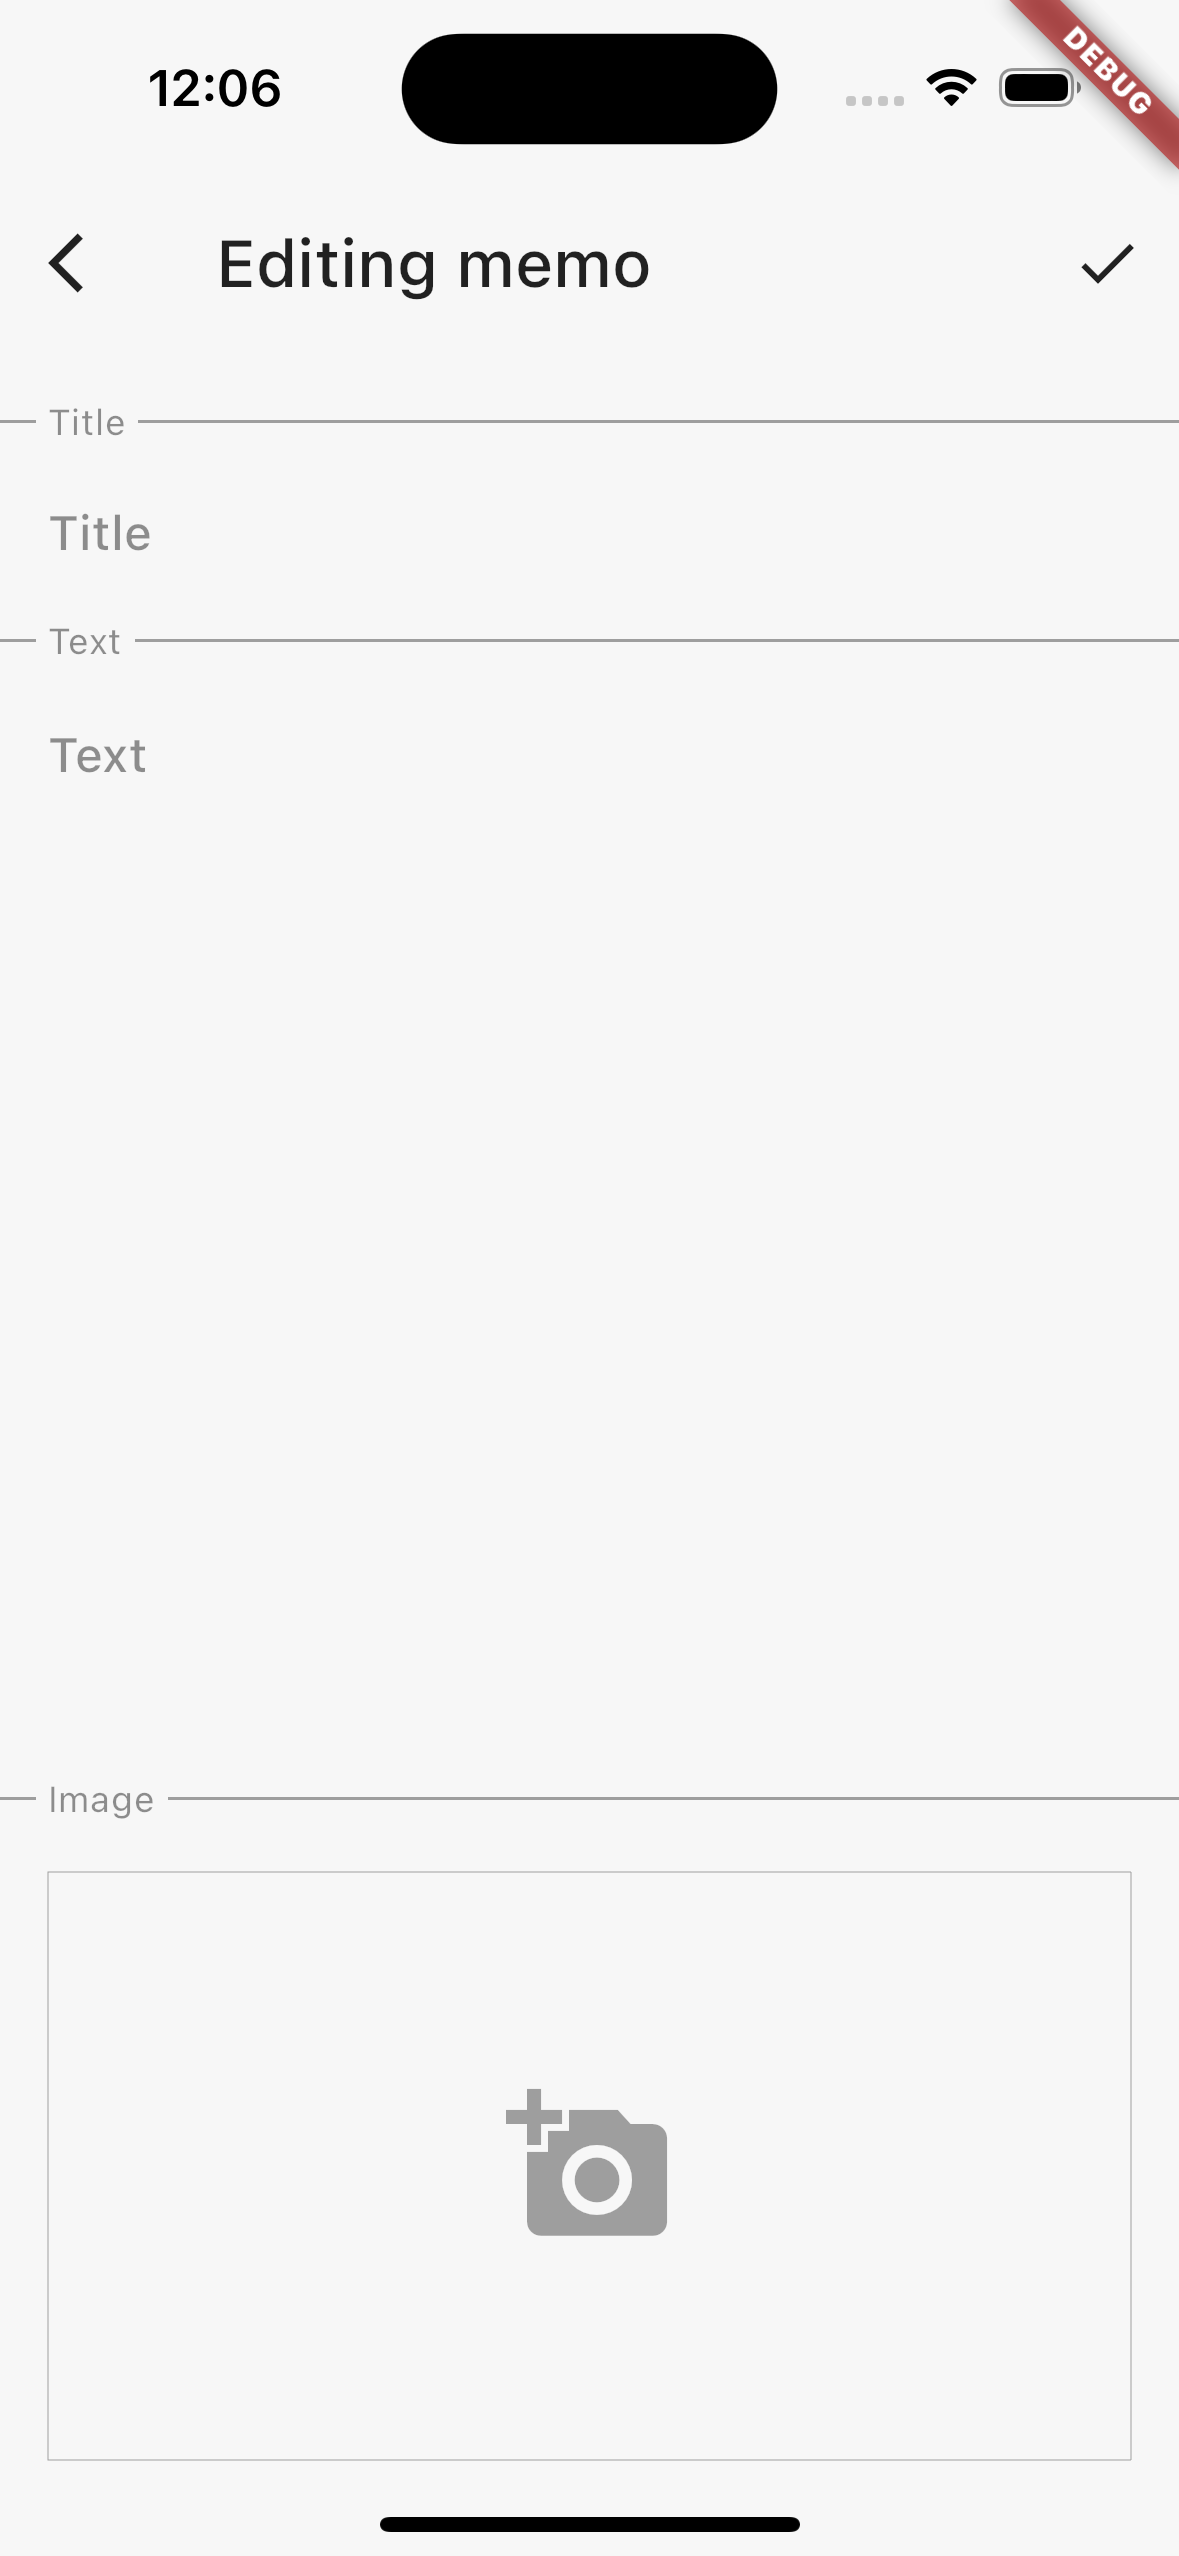
Then create a form for uploading images in memo_edit.dart.
// memo_edit.dart
return UniversalScaffold(
appBar: UniversalAppBar(
title: Text("Editing memo"),
actions: [
IconButton(
icon: const Icon(Icons.check),
onPressed: () async {
final value = controller.validate();
if (value == null) {
return;
}
if (ref.isEditing) {
await memoData!.save(value).showIndicator(context);
} else {
final memoData = ref.model(MemoModel.collection()).create();
await memoData.save(value).showIndicator(context);
}
router.pop();
},
),
],
),
body: UniversalColumn(
children: [
FormLabel("Title"),
FormTextField(
form: controller,
hintText: "Title",
initialValue: controller.value.title,
onSaved: (value) => controller.value.copyWith(
title: value,
),
),
FormLabel("Text"),
Expanded(
child: FormTextField(
form: controller,
hintText: "Text",
expands: true,
initialValue: controller.value.text,
style: const FormStyle(textAlignVertical: TextAlignVertical.top),
onSaved: (value) => controller.value.copyWith(
text: value,
),
),
),
FormLabel("Image"),
FormMedia(
form: controller,
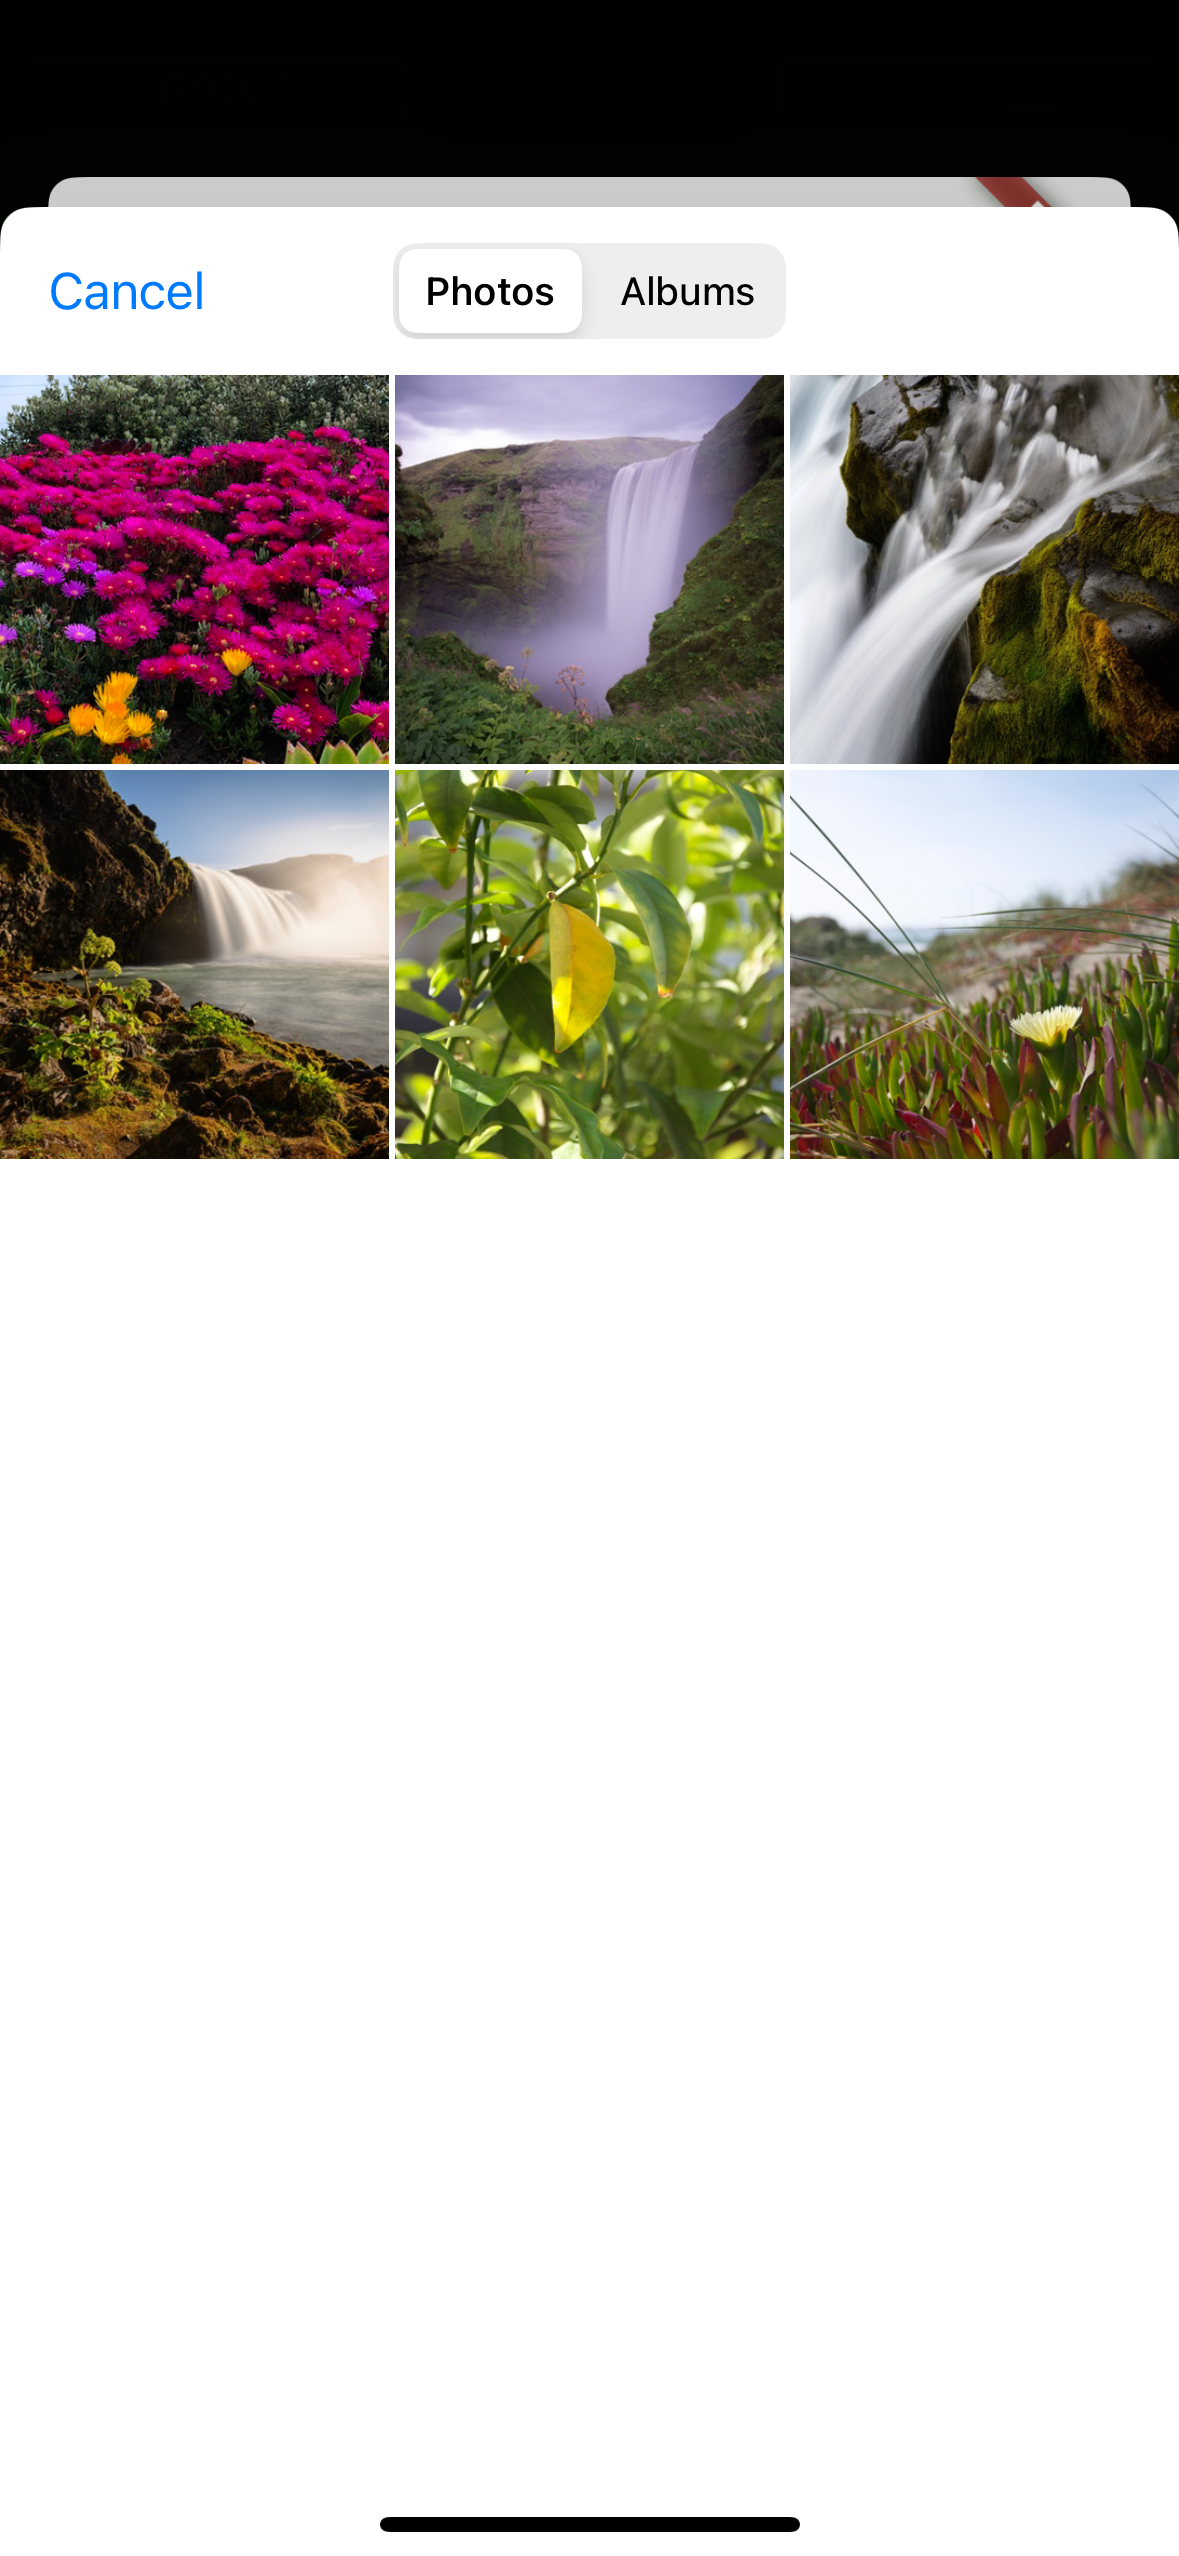
onTap: (ref) async {
final media = await appPicker.pickSingle(
type: PickerFileType.image,
);
final uploaded = await media.upload().showIndicator(context);
if (uploaded == null) {
return;
}
ref.update(uploaded, FormMediaType.image);
},
initialValue: controller.value.image?.toFormMediaValue(),
style: FormStyle(padding: 16.p),
builder: (context, media) {
return Image(
image: media.toImageProvider(),
fit: BoxFit.cover,
);
},
onSaved: (value) => controller.value.copyWith(
image: value.toModelImageUri(),
),
),
],
),
);
FormMedia is a form for inputting media data such as images.
Pass the form controller to form.
Implement behavior when tapping on onTap.
This time, use the appPicker defined earlier and execute pickSingle to start the OS file picker. Upload the media obtained from the picker using the upload method, and update it using onUpdate.
The initialValue is converted from the ModelImageUri using toFormMediaValue and given as the initial value.
The builder implements how the media data is displayed.
Describe if you want to pass data to image of MemoModel with onSaved.
Finally, create a mechanism to open memo_detail.dart and display the saved images.
Simply use image of MemoModel. The toImageProvider() method can be used as an ImageProvider as is, so be proactive about using it.
return UniversalScaffold(
  appBar: UniversalAppBar(
    title: Text(memoData.value?.title ?? ""),
    actions: [
      IconButton(
        icon: const Icon(Icons.delete),
        onPressed: () {
          Modal.confirm(
            context,
            submitText: "Delete",
            cancelText: "Cancel",
            title: "Confirmation",
            text: "Delete the memo. Are you sure?",
            onSubmit: () async {
              await memoData.delete().showIndicator(context);
              router.pop();
            },
          );
        },
      ),
      IconButton(
        icon: const Icon(Icons.save),
        onPressed: () {
          router.push(MemoEditEditPage.query(editId: memoId));
        },
      ),
    ],
  ),
  body: UniversalListView(
    padding: 16.p,
    children: [
      Text("投稿日時:${memoData.value?.createdAt.value.yyyyMMddHHmm() ?? ""}"),
      16.sy,
      Text(memoData.value?.text ?? ""),
      if (memoData.value?.image != null) ...[
        32.sy,
        Image(
          image: memoData.value!.image!.toImageProvider(),
        ),
      ],
    ],
  ),
);
Debugging. The form will appear as shown below.
Tapping the image area displays the permission dialog, and the OS file picker is activated as shown here.
When entered and saved
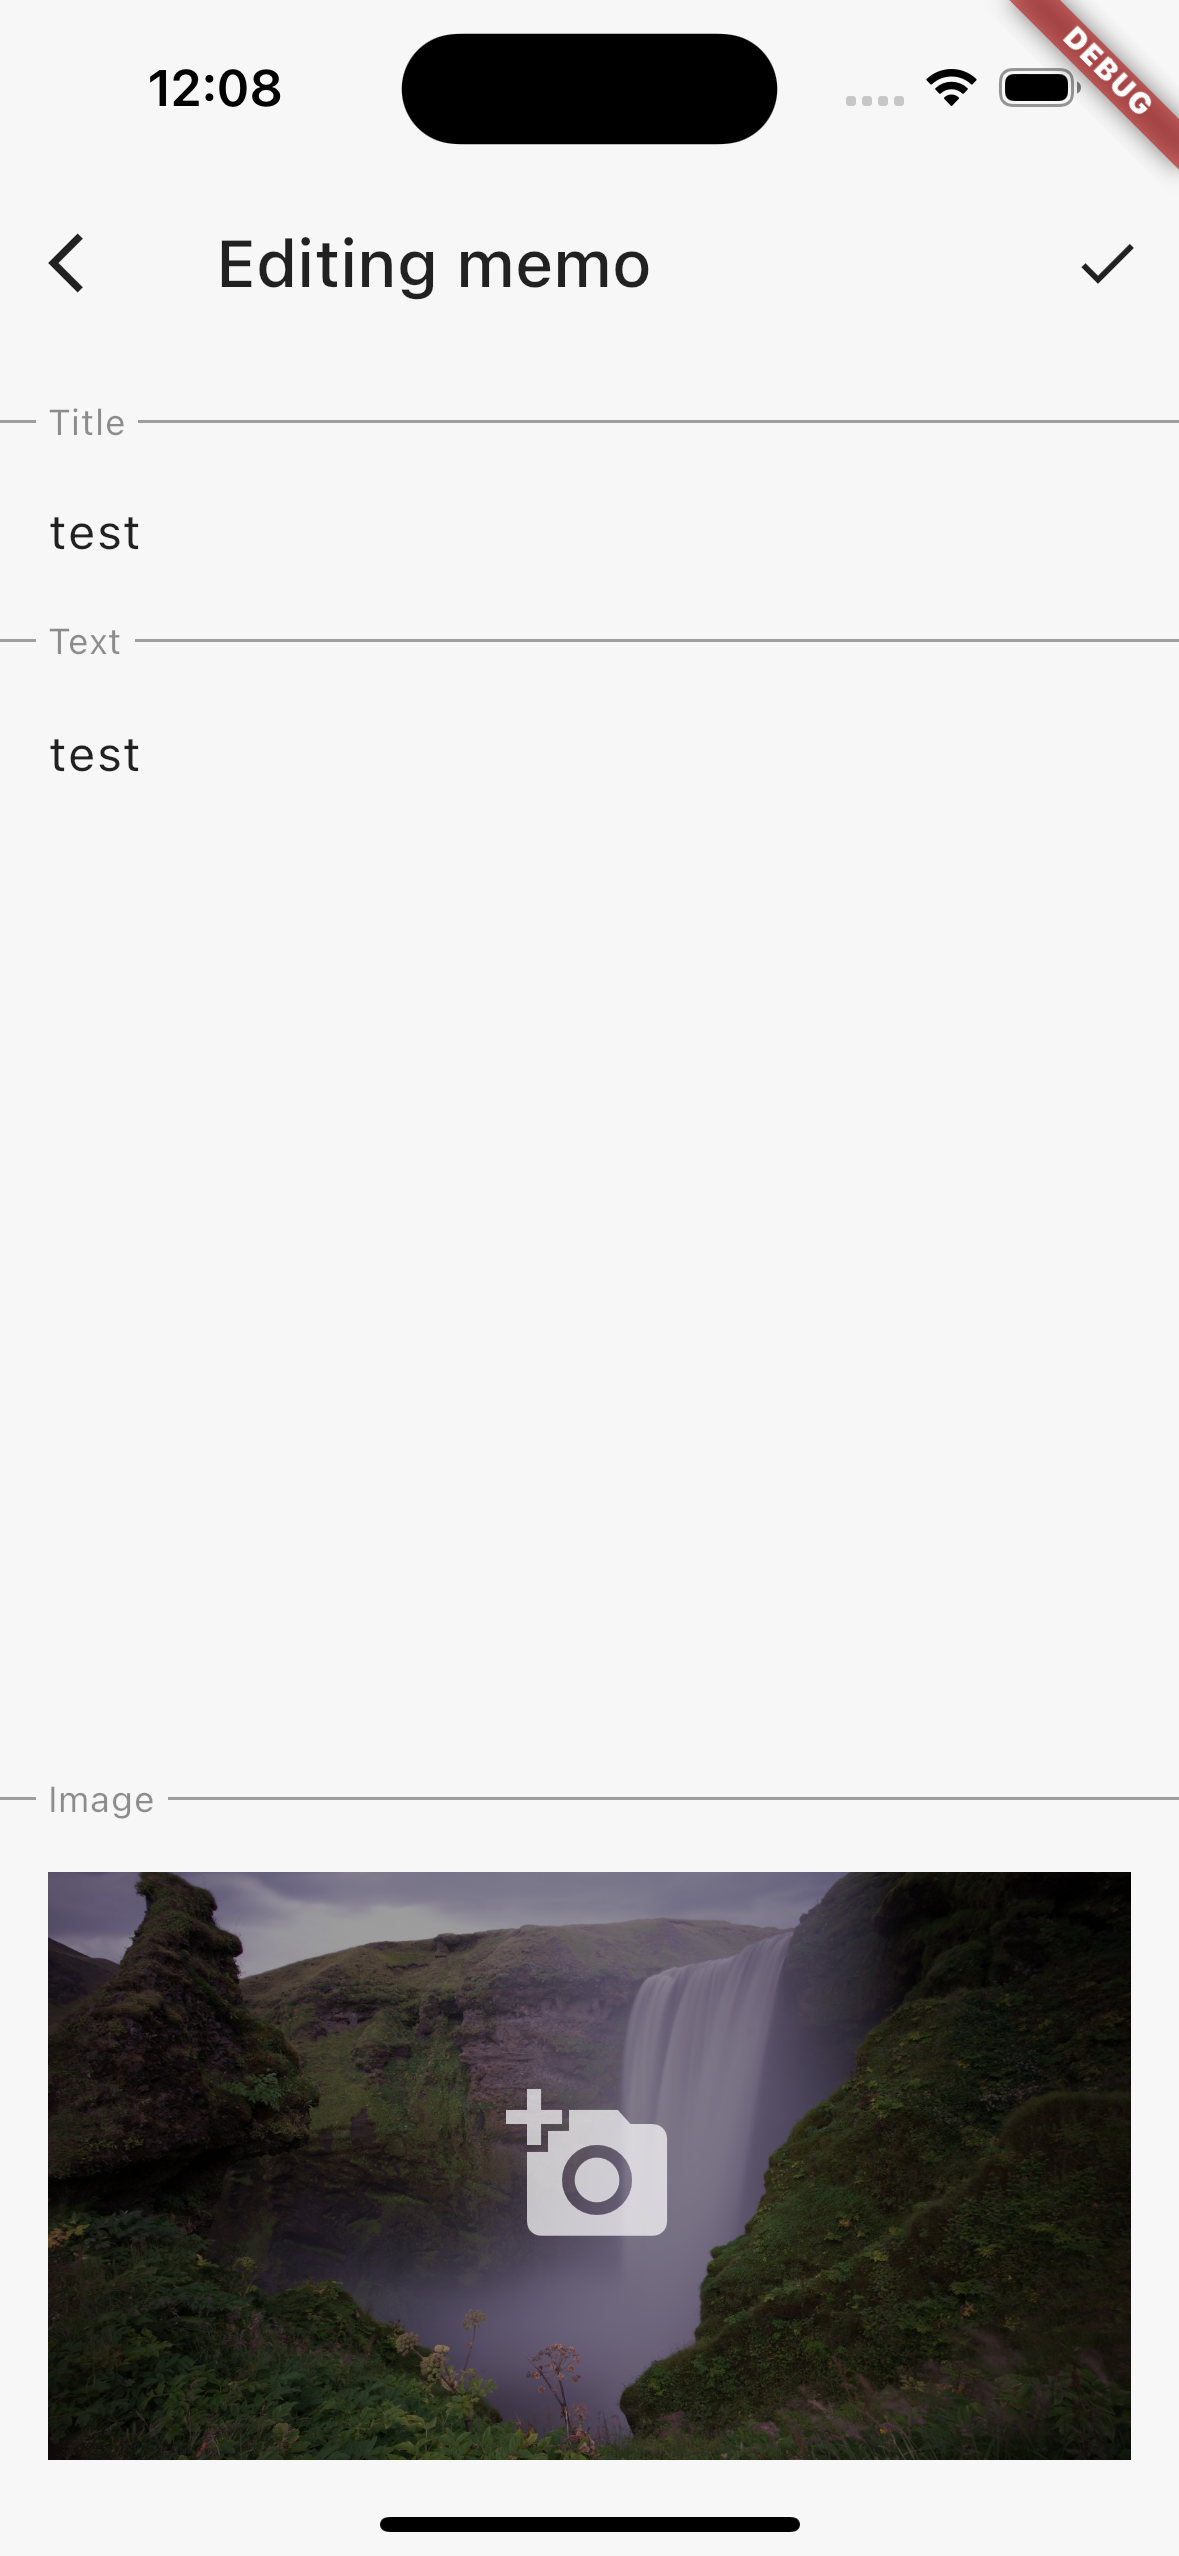
The image is displayed with the text in this way.

Extra: Switching to Firebase Storage
Image upload function is implemented.
Currently, files stored locally are displayed as they are, but let's actually use Cloud Storage for Firebase to upload the files.
First, open the Firebase project you have already created.
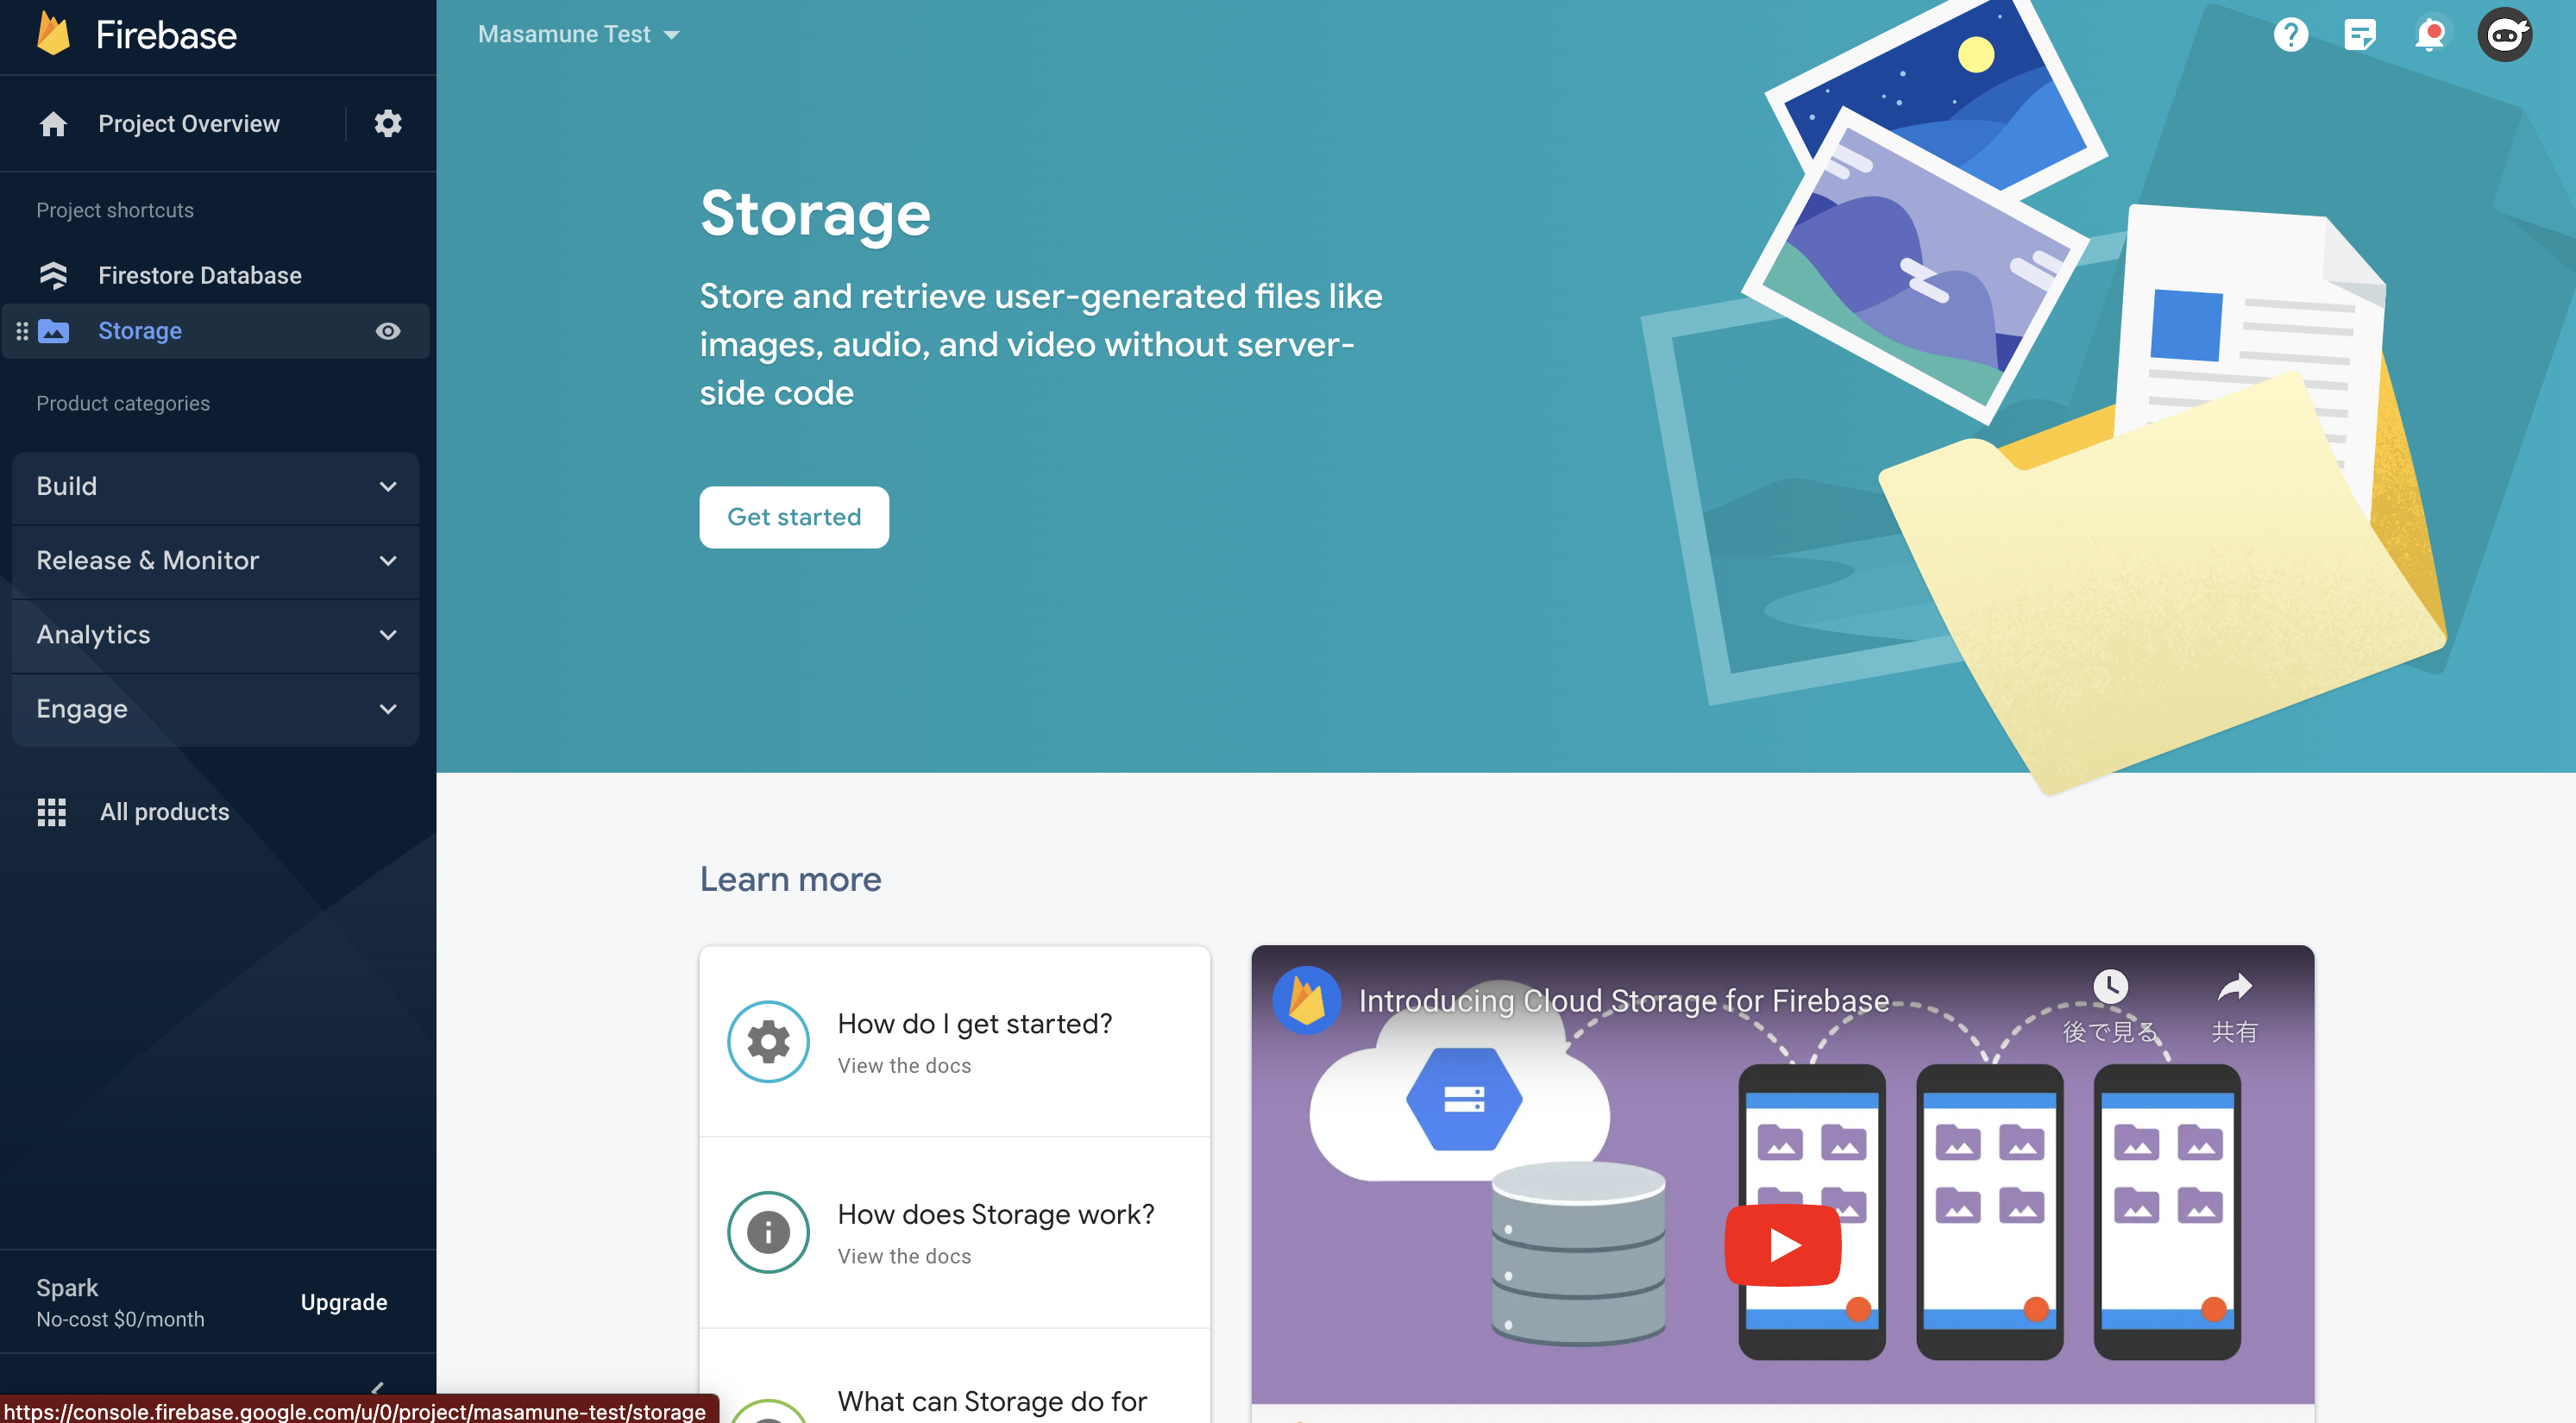
Create Storage.
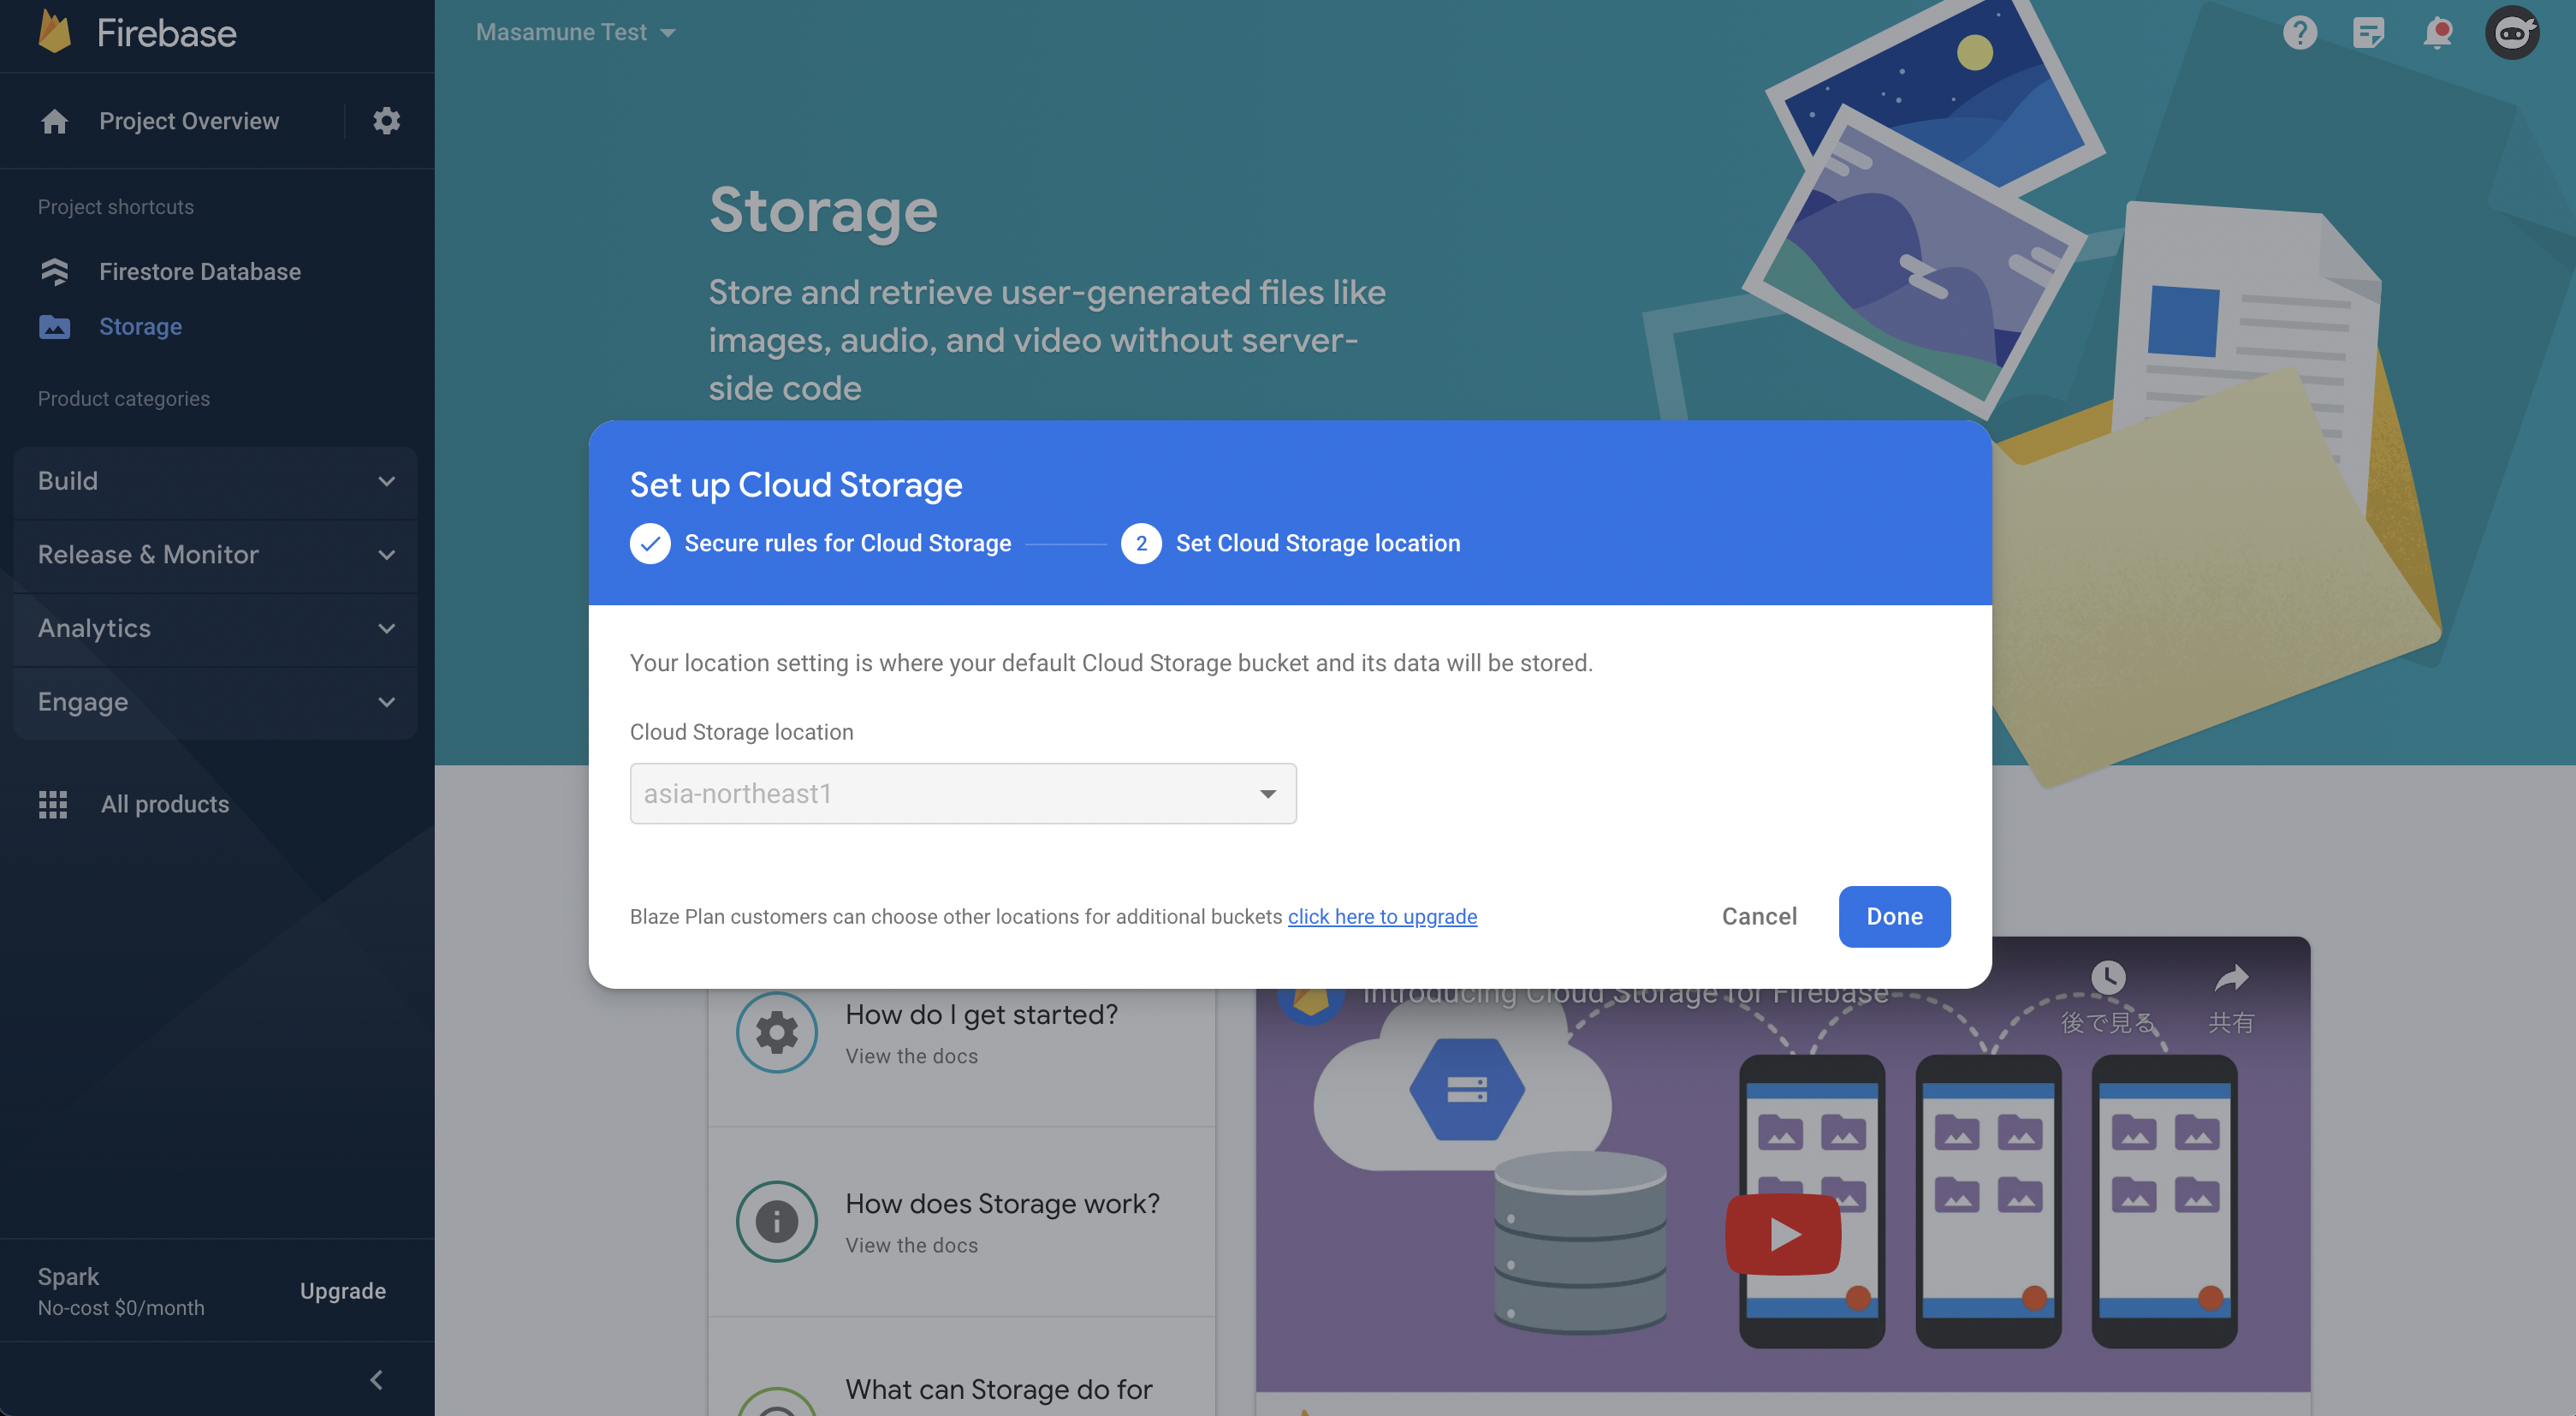
Let's proceed in "Test Mode" at first.
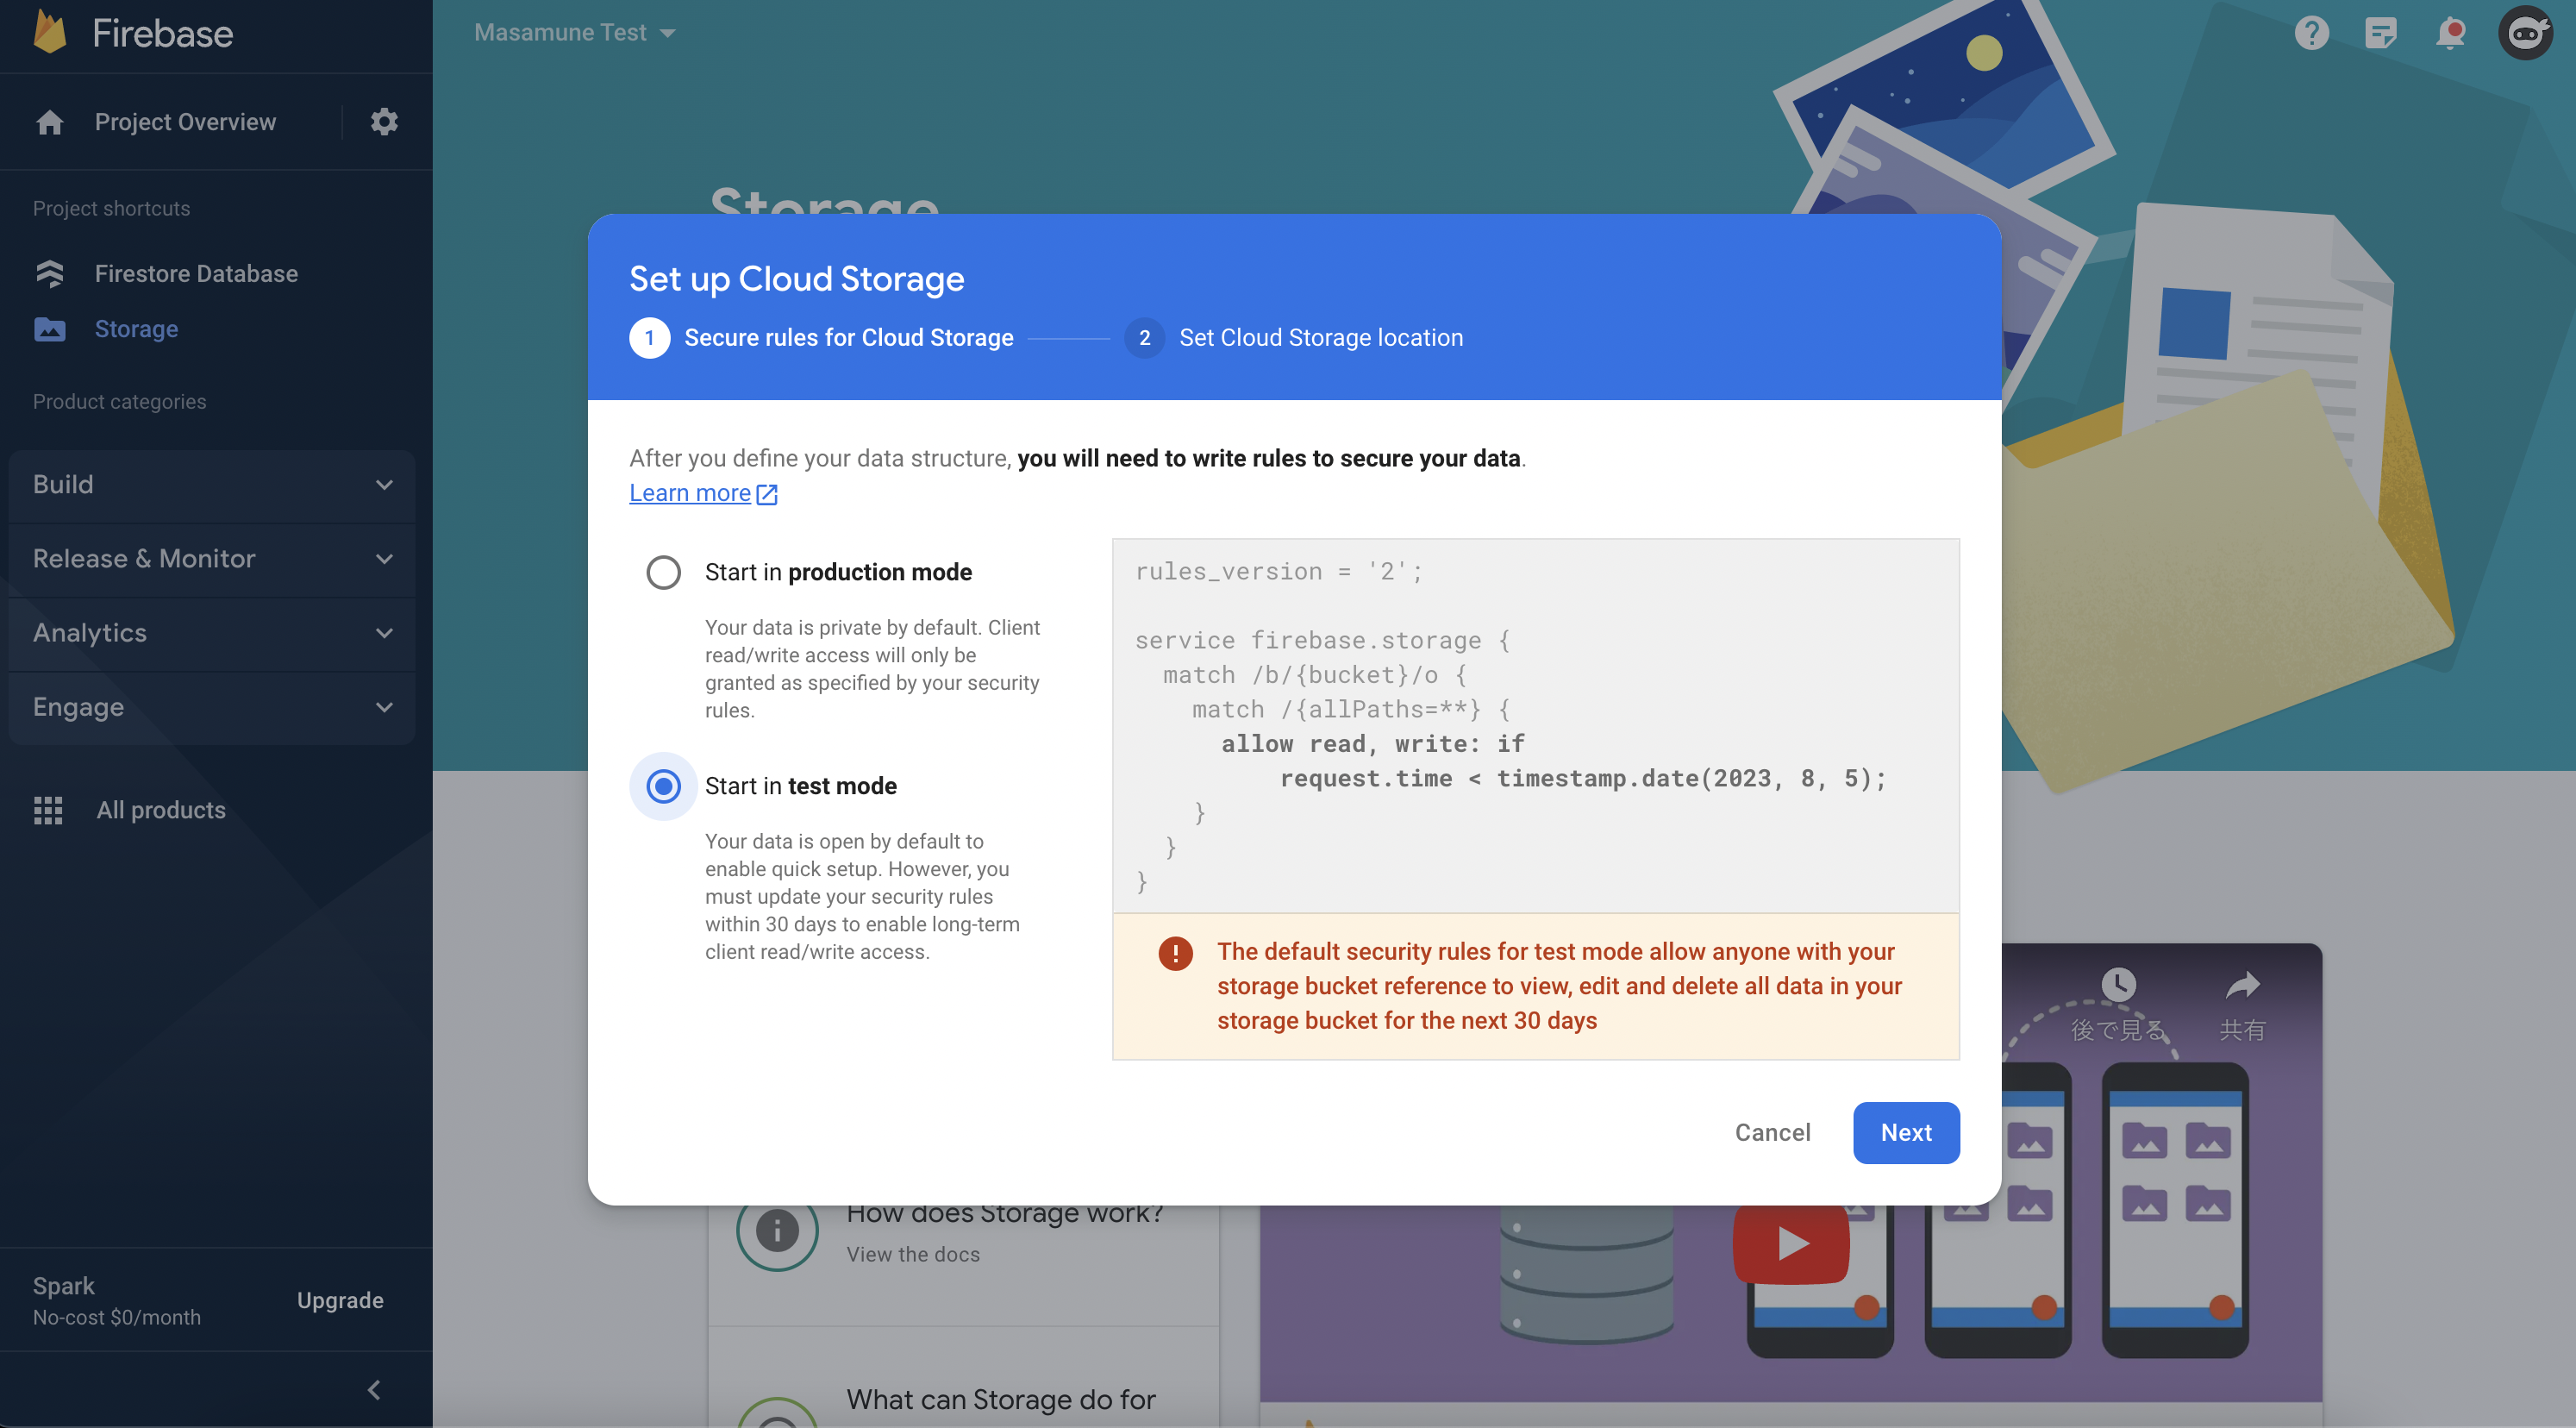
Region was set when the Firestore was created and cannot be changed.
Then return to the Flutter project and rewrite katana.yaml.
Change firebase → storage → enable to true.
# katana.yaml

firebase:
  # Set the Firebase project ID.
  # FirebaseのプロジェクトIDを設定します。
  project_id: masamune-test

  # Enable Firebase Firestore.
  # Firebase Firestoreを有効にします。
  firestore:
    enable: true
    overwrite_rule: false

  # Enable Firebase Authentication.
  # Firebase Authenticationを有効にします。
  authentication:
    enable: false


  # Enable Cloud Storage for Firebase.
  # Cloud Storage for Firebaseを有効にします。
  storage:
    enable: true # false -> true
    overwrite_rule: false
Execute the following command
katana apply
Then switch the adapter. In addition, switch the database to Firestore.
Open main.dart.
// main.dart
import 'package:katana_storage_firebase/katana_storage_firebase.dart';

~~~~~~~

/// App Model.
///
/// By replacing this with another adapter, the data storage location can be changed.
// TODO: Change the database.
final modelAdapter = FirestoreModelAdapter(
  options: DefaultFirebaseOptions.currentPlatform,
);
// final modelAdapter = RuntimeModelAdapter(
//   initialValue: [
//     MemoModelInitialCollection(
//       {
//         for (var i = 0; i < 10; i++)
//           generateCode(32, seed: i): MemoModel(
//             title: "メモタイトル$i",
//             text: "メモテキスト$i",
//             createdAt: ModelTimestamp(DateTime.now().subtract(i.h)),
//           )
//       },
//     )
//   ],
// );

/// App Auth.
///
/// Changing to another adapter allows you to change to another authentication mechanism.
// TODO: Change the authentication.
final authAdapter = RuntimeAuthAdapter();

/// App Storage.
///
/// Changing to another adapter allows you to change to another storage mechanism.
// TODO: Change the storage.
final storageAdapter = FirebaseStorageAdapter(
  options: DefaultFirebaseOptions.currentPlatform,
);
// final storageAdapter = LocalStorageAdapter();
This completes the process.
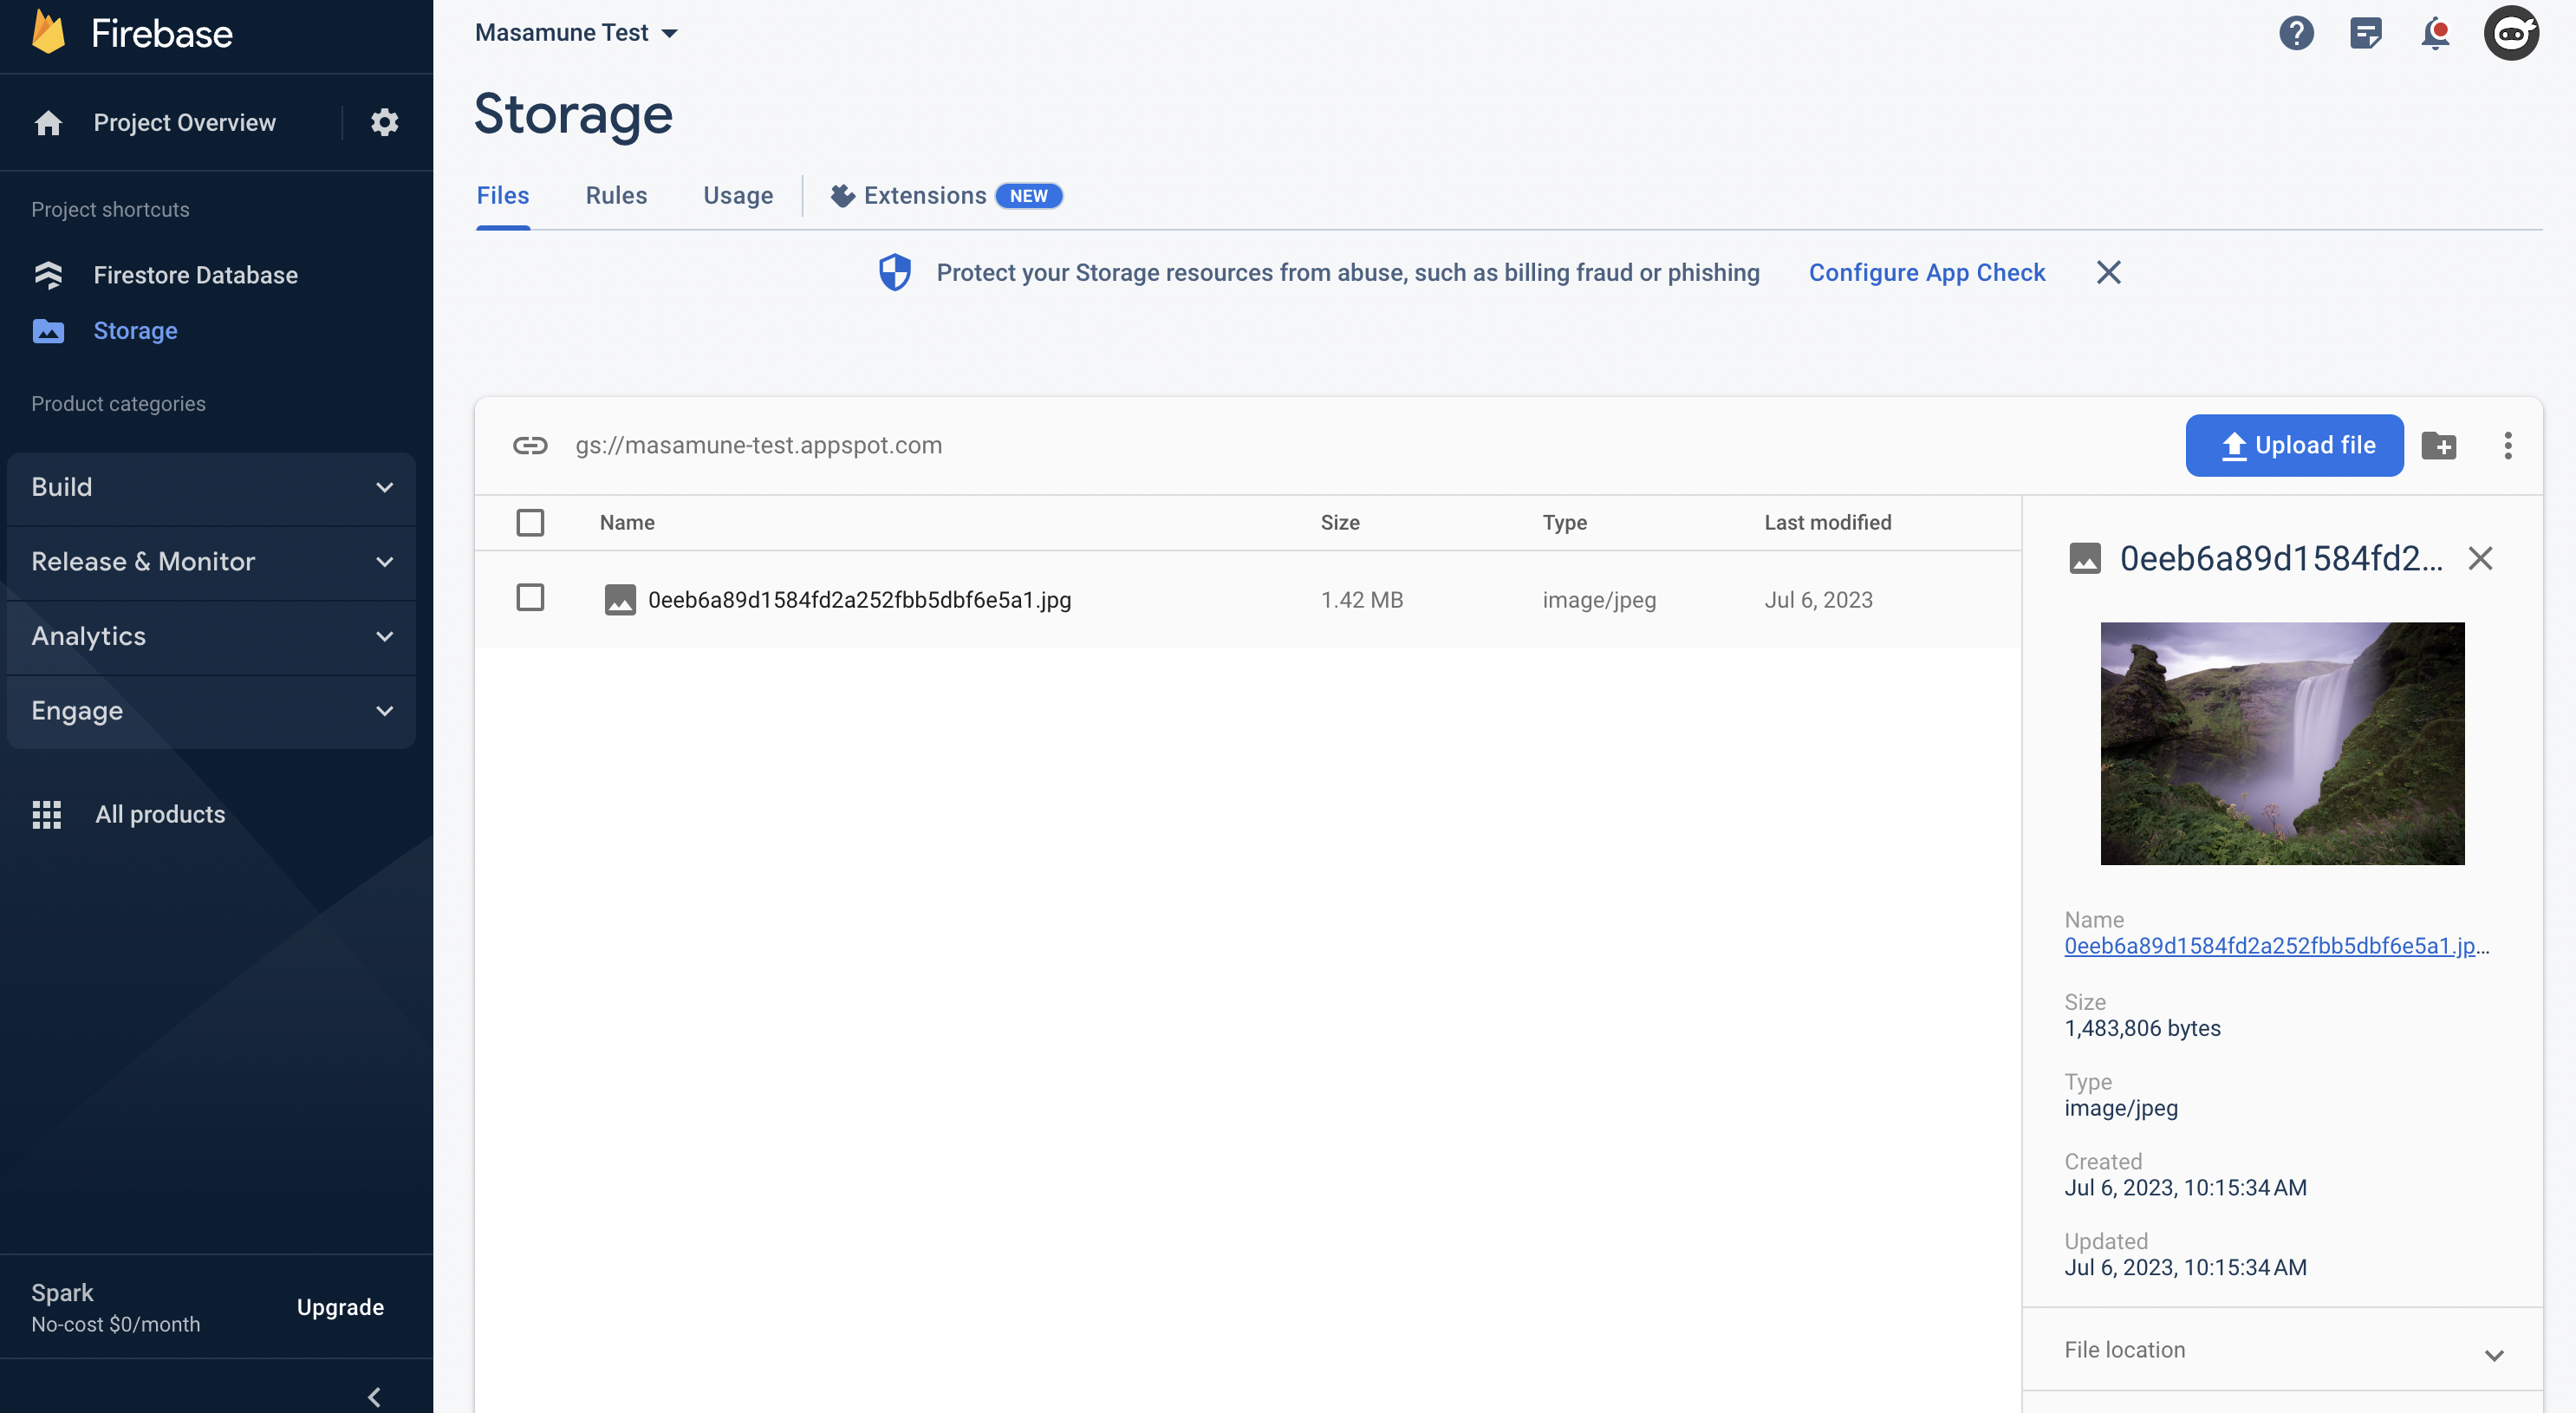
Let's debug it. I will update the memo with an image.
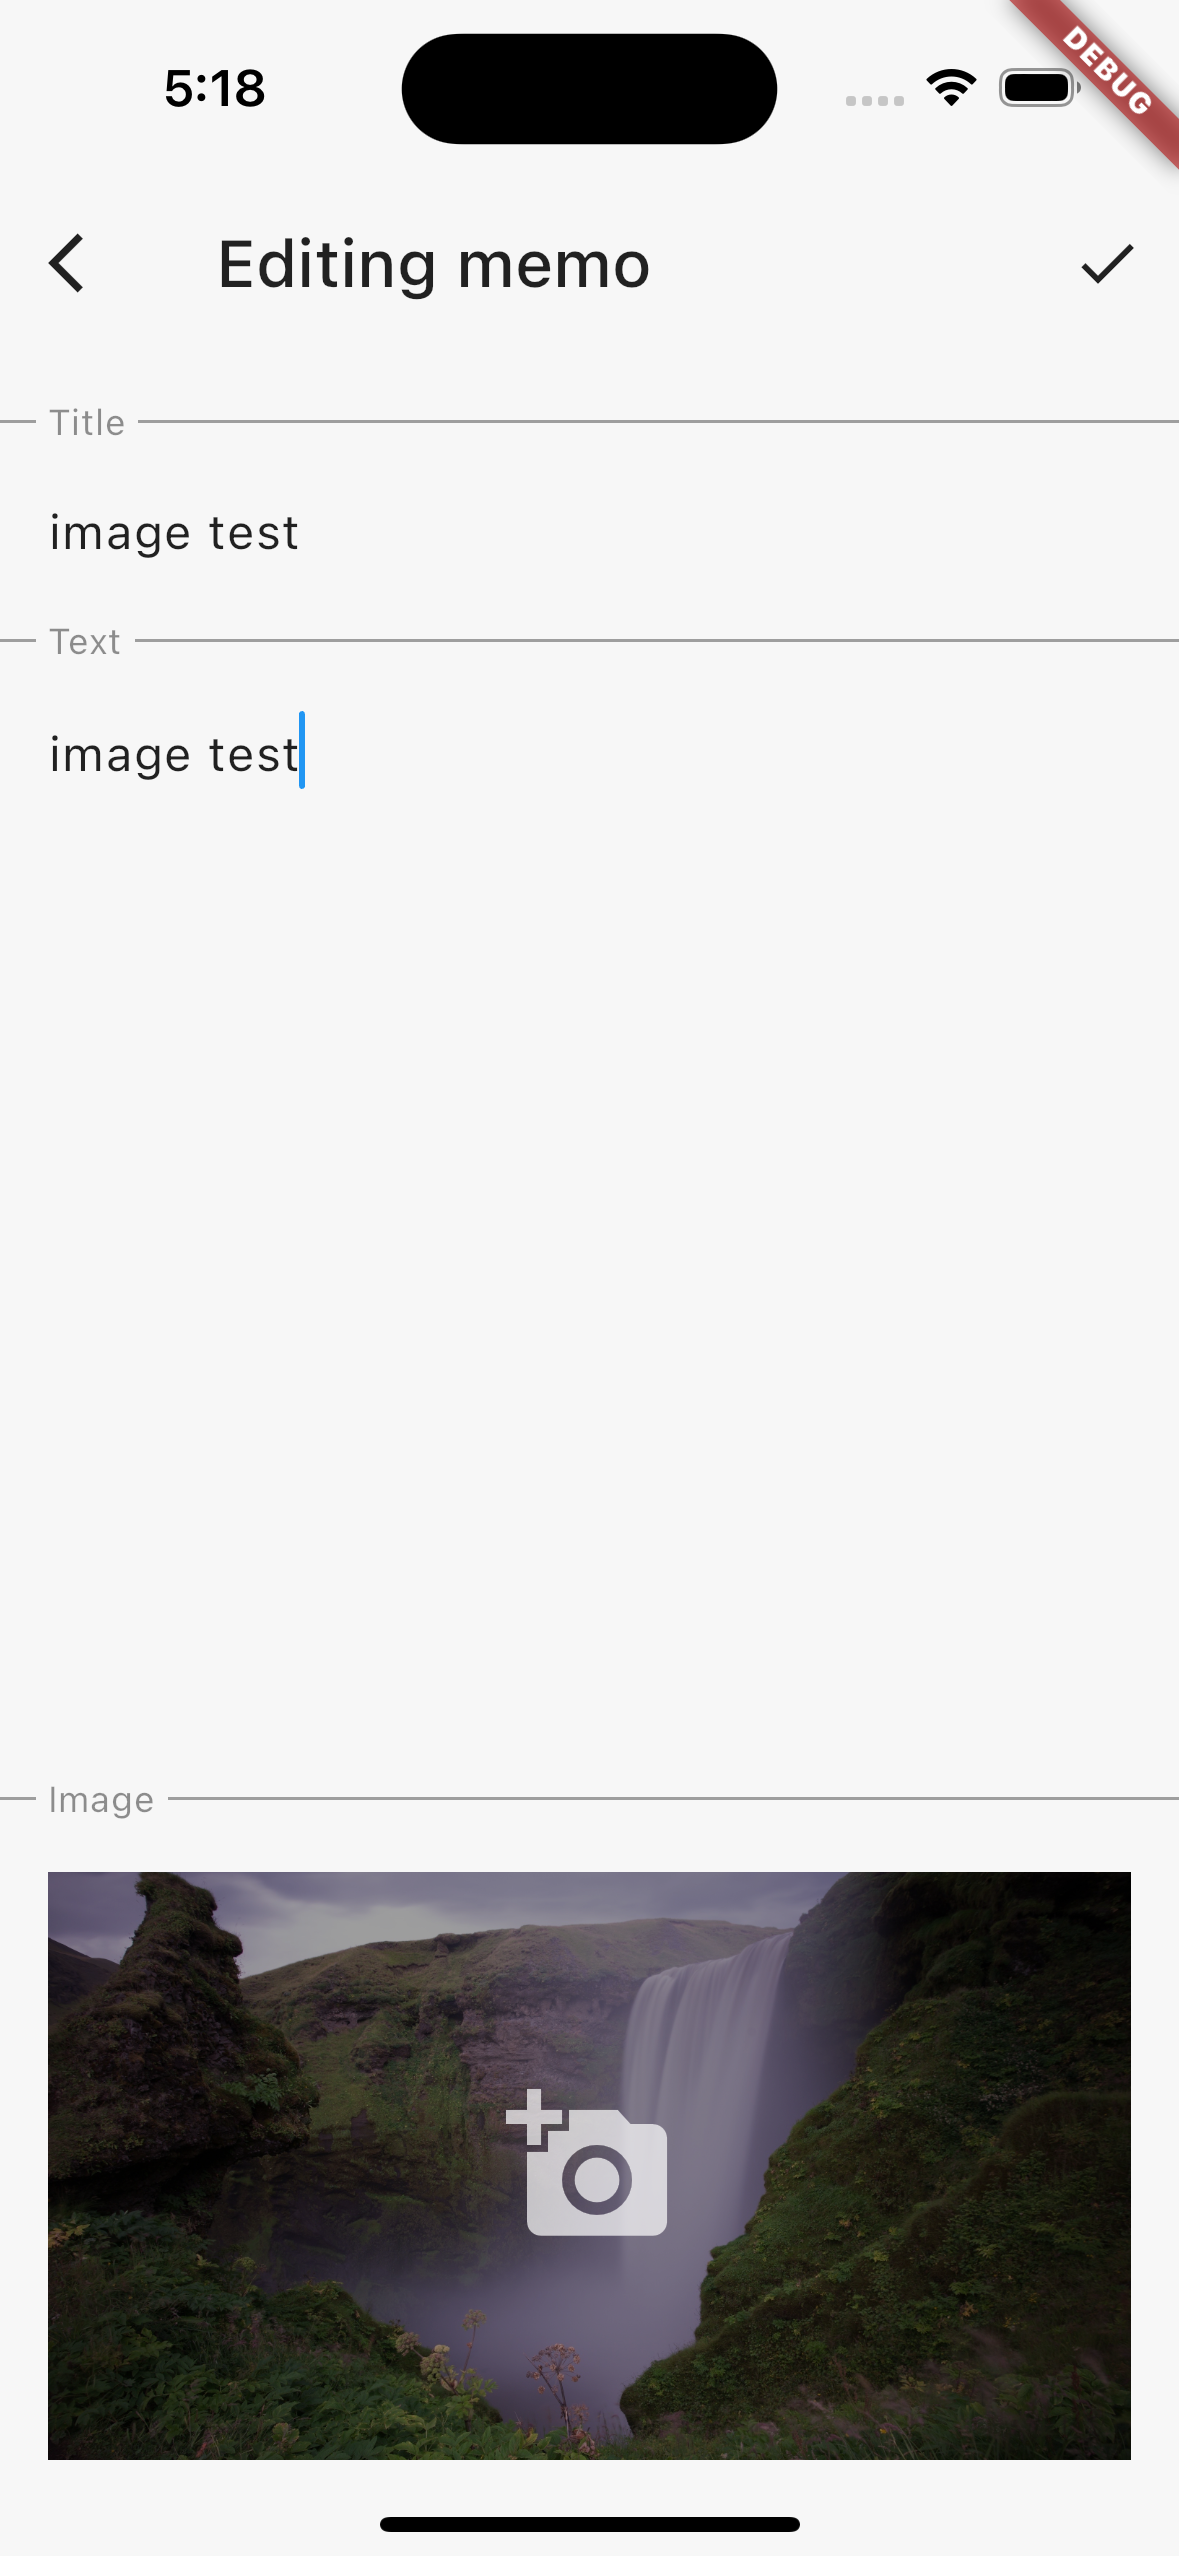
Image displayed!

You can see that files are also uploaded to the Storage bucket.
Conclusion
The Masamune framework made it very easy to implement the difficult “Text search" and “Image upload" functions.
As you can see, the Masamune framework supports the implementation of various functions for creating applications. There are still many areas that can be explored in depth, so please look forward to it!
Let's add “User management" and “User registration and authentication" functions to this notepad application next time and evolve it into a “Multi-user blogging" application.
The Masamune framework is available here, and I welcome issues and PullRequests!
If you have any further job requests, please contact me directly through my Twitter or website!

GitHub Sponsors
Sponsors are always welcome. Thank you for your support!
