![[Unity] UIElements Expansions: Router - mathru.net | App Development with Flutter, Unity/Music and Video Production/Material Distribution](https://mathru.net/notion/8dd8ce62-691b-436c-8479-f860ced627e5/3b147a2255f9ff229d34b2112724fea8-large.webp)
UIElements Expansions is an extended asset for the Unity editor.
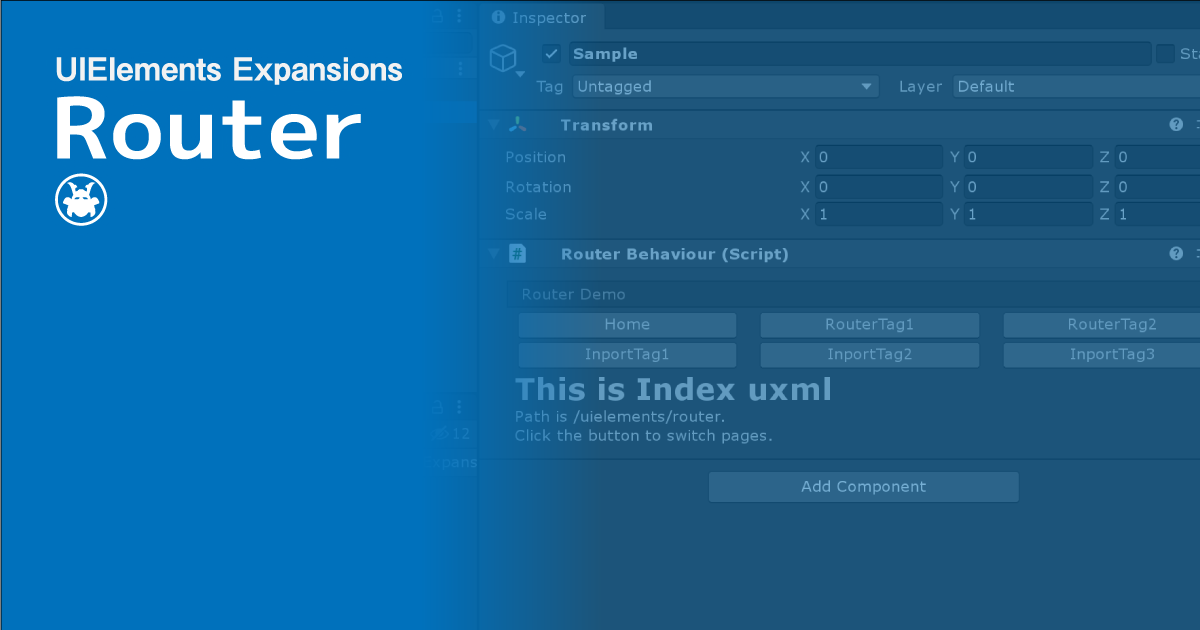
UIElements Expansions: Router
"UIElements Expansions: Router" strongly supports "UIElements" which was introduced with Unity 2019.1.
What is UIElements
UIElements replaces the current Unity editor GUI system (IMGUI) that was introduced in Unity 2019.1.
You can combine HTML for Unity "UXML" and style sheets for Unity "USS" to create a Unity GUI as if you were creating a web page with HTML and CSS.
Of course, you can write the process for the editor in the editor script as before, and you can create a dynamic GUI like HTML5 with methods like jQuery.
In the future, it is planned to replace the runtime GUI (Current uGUI) as well as the editor, and is expected to be the future Unity GUI.
However, the potential is high, but since it has just been introduced, there are still not enough functions to use it seriously.
"UIElements Expansions" is an asset that provides strong support for the missing pieces.
This "UIElements Expansions: Router" mainly supports the following functions:
-
UIElements Expansions Common Features
- Global Style Sheet
- Inspector Auto Assign
- Additional Tags/Features
- Additional Class
- Routing functions
UIElements Expansions Common Features
Please refer to the following page.
Routing functions

Routing is a simple feature. Simply associate a routing path with a UXML file placed in the project.
However, it is possible to introduce a simple page transition mechanism into the Unity editor by using the "Page" tag, which is the display area of the UXML file, together with "RoutableButton" and "BindableButton", which switch the UXML file.
How to Use
Import

Purchase from Unity Asset Store.
You can import after purchase from "My Assets".
Page Transitions with Routing
There are three steps that must be taken in order for the routing function to make page transitions.
- Associating UXML Files with Routing Paths
- Adding Page Tags to the Display Area
- Toggle Button Placement
Associating UXML Files with Routing Paths
There are three ways to associate a UXML file with a routing path:
- Describe the path directly in the Router tag
- Using the Import tag to load UXML files that collectively describe Router tags
- Using the path attribute to describe the path for each UXML file
Describe the path directly in the Router tag
You can describe a routing path in a UXML file that uses the engine:Router tag to do page transitions directly. The path attribute describes the file path of uxml (Assets I will write from below.), and the name attribute describes the routing path.
<engine:Router path="Assets/Masamune/UIElements.Expansions.Router/Assets/Styles/Articles/RouterTag1.uxml" name="/uielements/router/router-tag-1" />
<engine:Router path="Assets/Masamune/UIElements.Expansions.Router/Assets/Styles/Articles/RouterTag2.uxml" name="/uielements/router/router-tag-2" />
Using the Import tag to load UXML files that collectively describe Router tags
The engine:Import tag can be used to load a UXML file containing all Router tags. The path (Assets Below) of the UXML file to load in the path attribute. Used to manage routing paths collectively within a project.
<engine:Import path="Assets/Masamune/UIElements.Expansions.Router/Assets/Styles/Articles/RouterSettings.uxml" />// RouterSettings.uxml
<?xml version="1.0" encoding="utf-8"?>
<engine:UXML
xmlns:xsi="http://www.w3.org/2001/XMLSchema-instance"
xmlns:engine="UnityEngine.UIElements"
xmlns:editor="UnityEditor.UIElements"
xsi:noNamespaceSchemaLocation="../../../../../../UIElementsSchema/UIElements.xsd"
>
<!-- Directly refer uxml file and path by router tag -->
<engine:Router path="Assets/Masamune/UIElements.Expansions.Router/Assets/Styles/Articles/ImportTag1.uxml" name="/uielements/router/import-tag-1" />
<engine:Router path="Assets/Masamune/UIElements.Expansions.Router/Assets/Styles/Articles/ImportTag2.uxml" name="/uielements/router/import-tag-2" />
<engine:Router path="Assets/Masamune/UIElements.Expansions.Router/Assets/Styles/Articles/ImportTag3.uxml" name="/uielements/router/import-tag-3" />
</engine:UXML>Using the path attribute to describe the path for each UXML file
Use the path attribute of the engine:UXML tag to describe the routing path for each file. In the example below, "/uielements/router" is specified for the routing path.
<?xml version="1.0" encoding="utf-8"?>
<engine:UXML
    xmlns:xsi="http://www.w3.org/2001/XMLSchema-instance"
    xmlns:engine="UnityEngine.UIElements"
    xmlns:editor="UnityEditor.UIElements"
    xsi:noNamespaceSchemaLocation="../../../../../../UIElementsSchema/UIElements.xsd"
    path="/uielements/router"
>
  <engine:H1 text="This is Index uxml" />
  <engine:Label text="Path is /uielements/router." />
  <engine:Label text="Click the button to switch pages." />
</engine:UXML>
Adding Page Tags to the Display Area
Create a display area and view the routed UXML files in it.
Describes the engine:Page tag and the routing path of the UXML file to display in the path attribute. In the example below, the UXML file in the path "/uielements/router" is displayed first. (So it says, "This is Index uxml")
<!-- View UXML files routed to /uielements/router -->
<engine:Page class="col-12" path="/uielements/router" name="main">
</engine:Page><?xml version="1.0" encoding="utf-8"?>
<engine:UXML
xmlns:xsi="http://www.w3.org/2001/XMLSchema-instance"
xmlns:engine="UnityEngine.UIElements"
xmlns:editor="UnityEditor.UIElements"
xsi:noNamespaceSchemaLocation="../../../../../../UIElementsSchema/UIElements.xsd"
path="/uielements/router"
>
<engine:H1 text="This is Index uxml" />
<engine:Label text="Path is /uielements/router." />
<engine:Label text="Click the button to switch pages." />
</engine:UXML>Toggle Button Placement
You can switch between UXML files displayed in Page tags when you click a button by setting "RoutableButton" or "BindableButton".
Describes the routing path that you want to switch to the path attribute of each button, and the name of the Page tag that you want to switch to the target attribute.
<!-- Switches the contents of name="main" to the UXML file routed to /uielements/router/router-tag-1 -->
<engine:RoutableButton text="RouterTag1" path="/uielements/router/router-tag-1" target="main" />
<!-- Switches the contents of name="main" to the UXML file routed to /uielements/router/router-tag-2 -->
<editor:BindableButton text="RouterTag2" path="/uielements/router/router-tag-2" target="main" />

<!-- View the UXML file originally routed to /uielements/router -->
<engine:Page class="col-12" path="/uielements/router" name="main">
</engine:Page>
You can place multiple Page tags, so if you use different names properly, you can switch only part of the page information.
Summary
"UIElements Expansions: Router" strongly supports "UIElements" which was introduced with Unity 2019.1. In particular, it makes it easier to write inspector designs that previously required editor scripts.
The routing feature also makes it easy to implement page transitions, which can be useful for documentation and tutorials.
The design has been flattened to match Unity 2019.3, which is cool at once, so you can use it comfortably.
If you are interested, please check out the asset store!